Staying Colorful Blog
Art lessons for Pre-K through 8
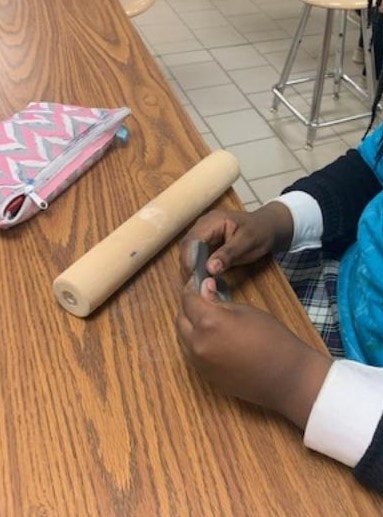 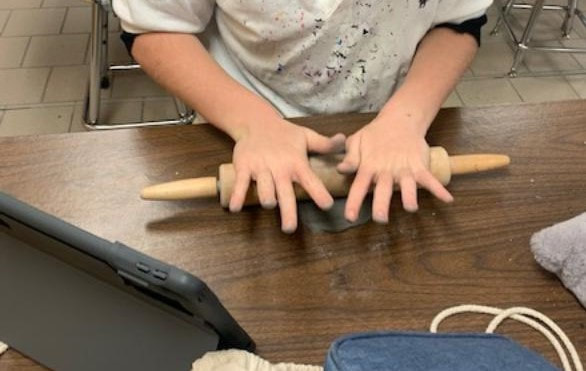 The 6th grade is exploring Ancient Civilizations and cuneiform writing came up as a topic. The students used air dry clay to create tablets that will hopefully stand up on display. They used their Ipads to look up the alphabet and used a small wooden tool to write their names on the tablets. They rolled out the clay and designed ways to make them stand up without toppling over.
0 Comments
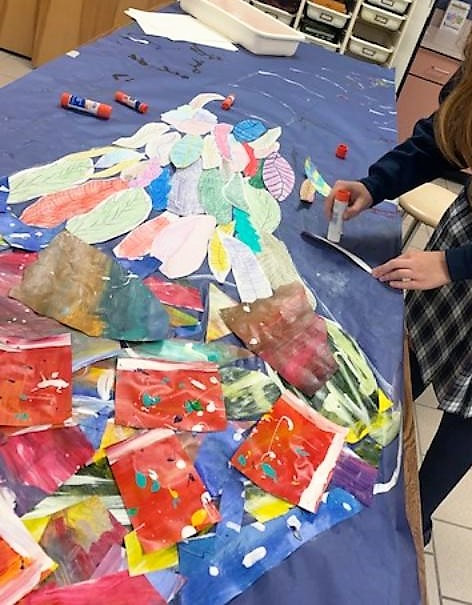
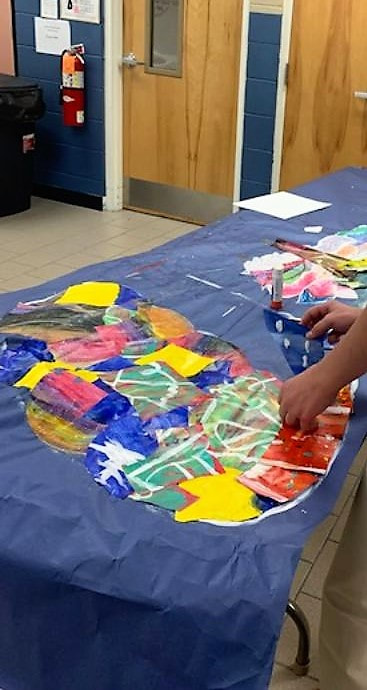
The 8th Grade made Angel Wings for a mural in the middle school hallways. After looking at Kelsey Montague's Art, we discussed murals and the design of them. I had the chance to visit her angel wings in Nashville so I showed them pictures of myself, to get an idea of how large the mural was, and also showed them pictures of my sister at the smaller wing mural intended for pets. (Side note: We had no clue it was for pets when we took the picture. We thought it was just for sitting angels...haaaaa!!) 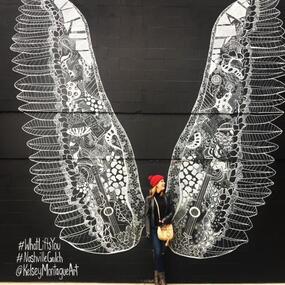 Myself in front of angel wings 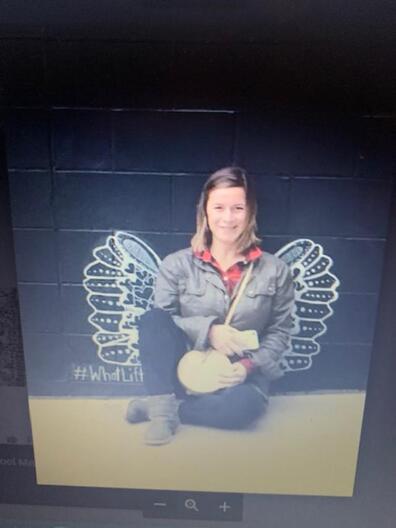 My sister in front of pet wings. 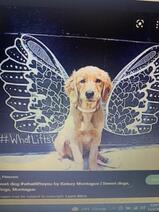 The little wings were made for pets. Who knew? The students designed different feathers on large 11x14 paper, fitting about 4 a sheet. They could use any medium to design: watercolor, pencil, marker, oil pastels. I drew two large wings on blue bulleting board paper, about 6 feet long. I let them design the placing of the feathers. The next week they painted papers with acrylics that would be cut up and used for the top layers of the wings. They turned out amazing...stay tuned for picture. A great photo op for the students.
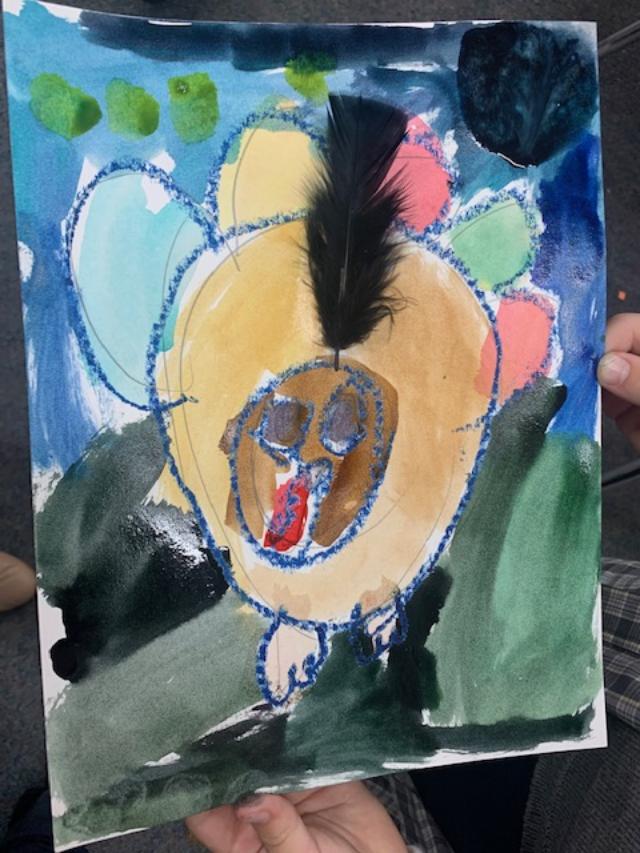
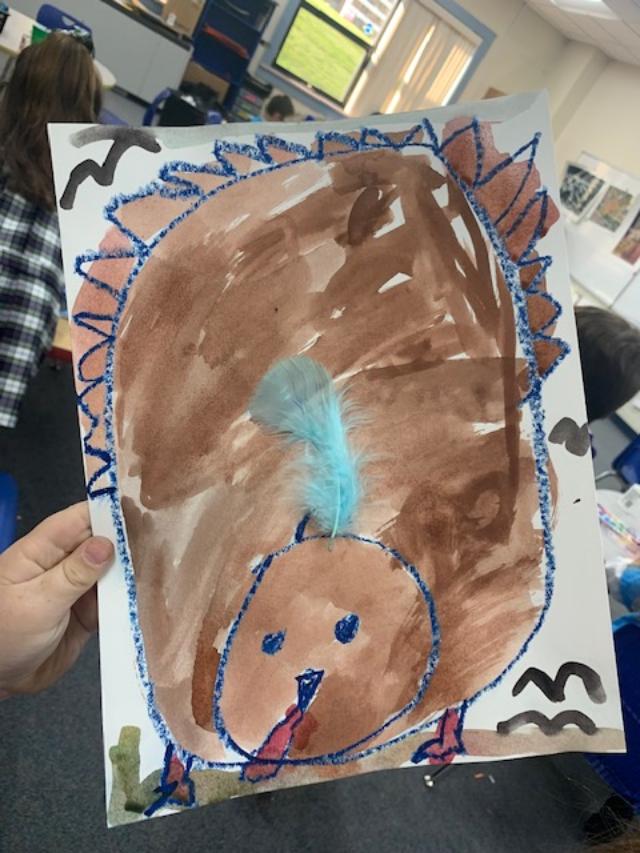
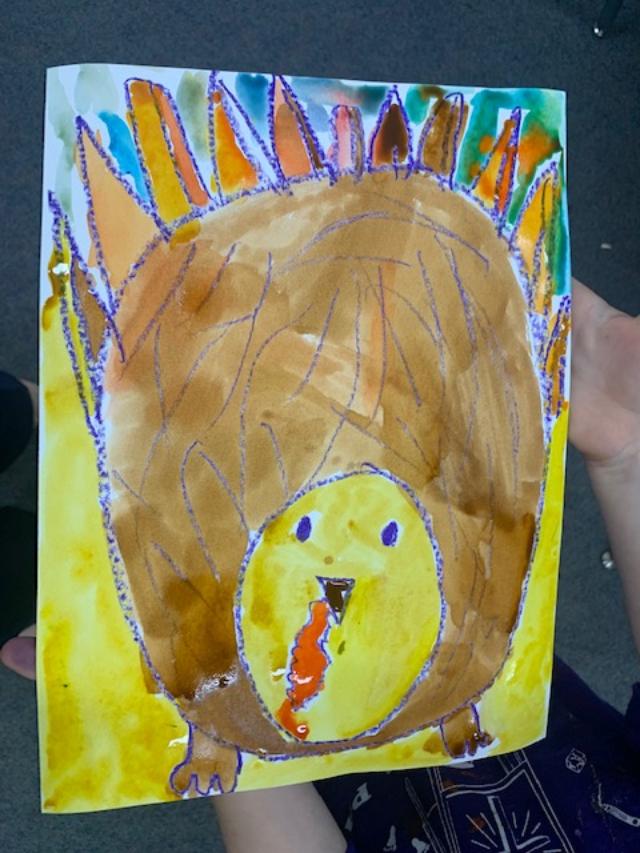
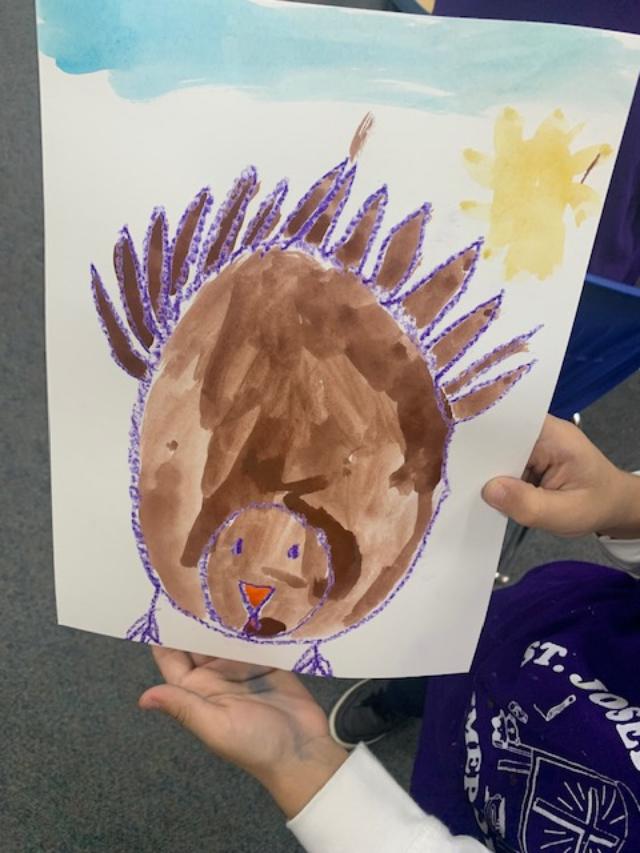
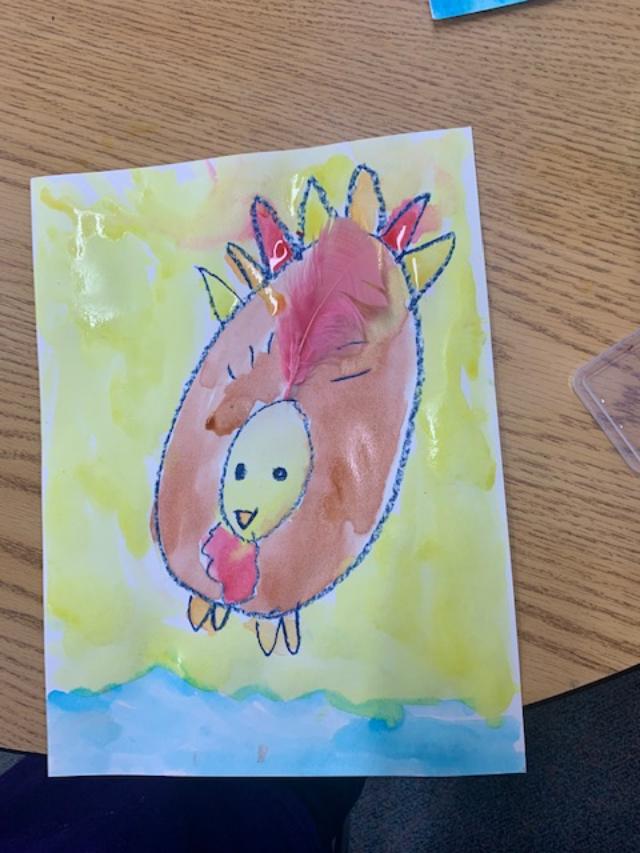
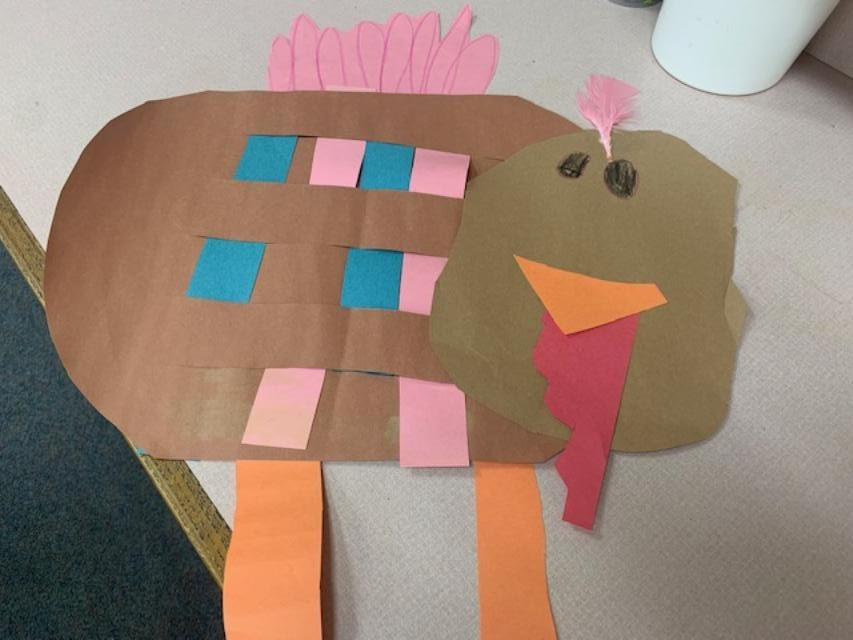
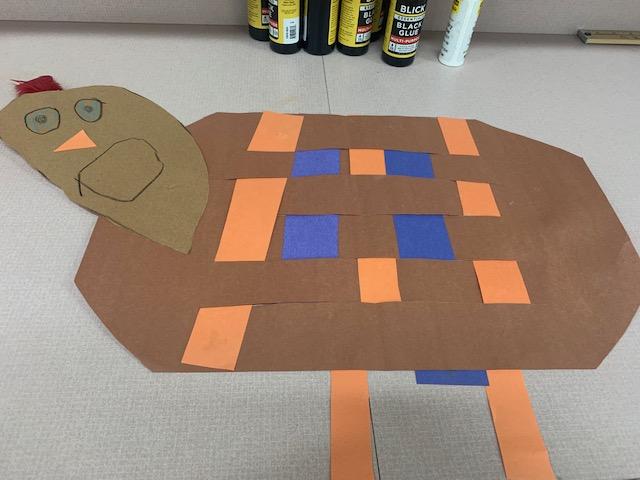
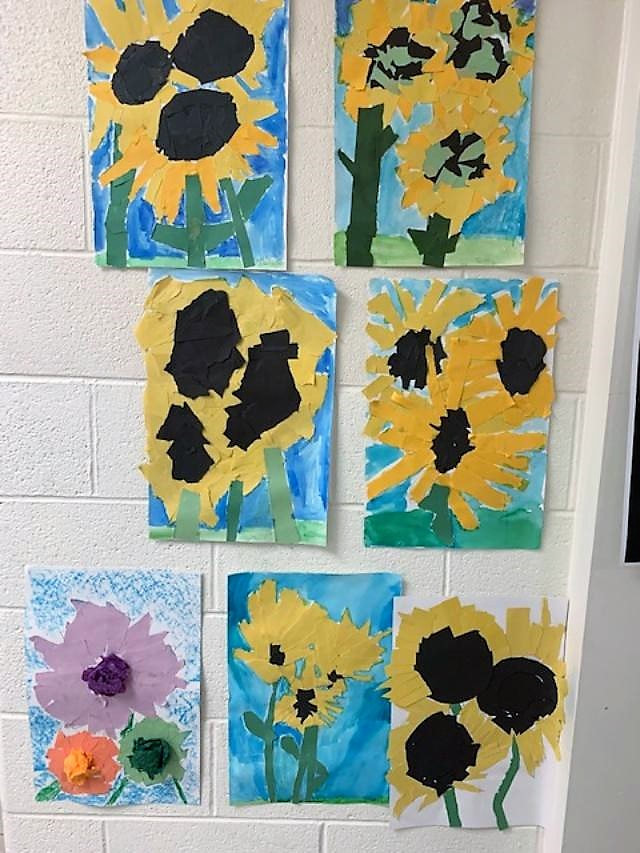
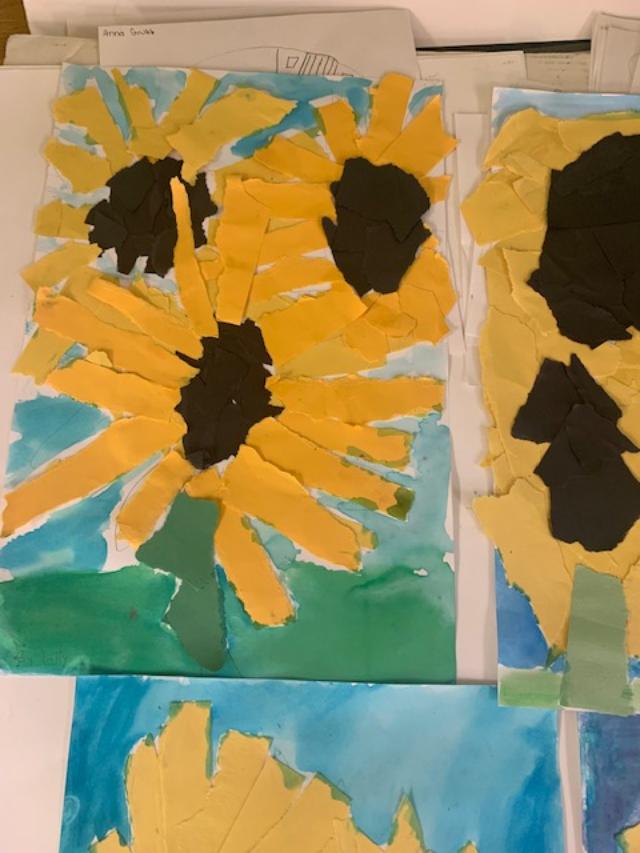
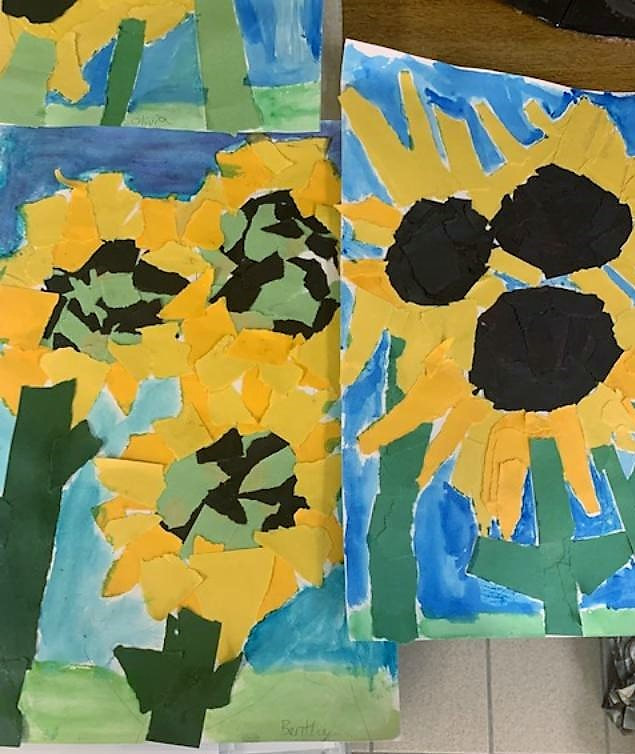
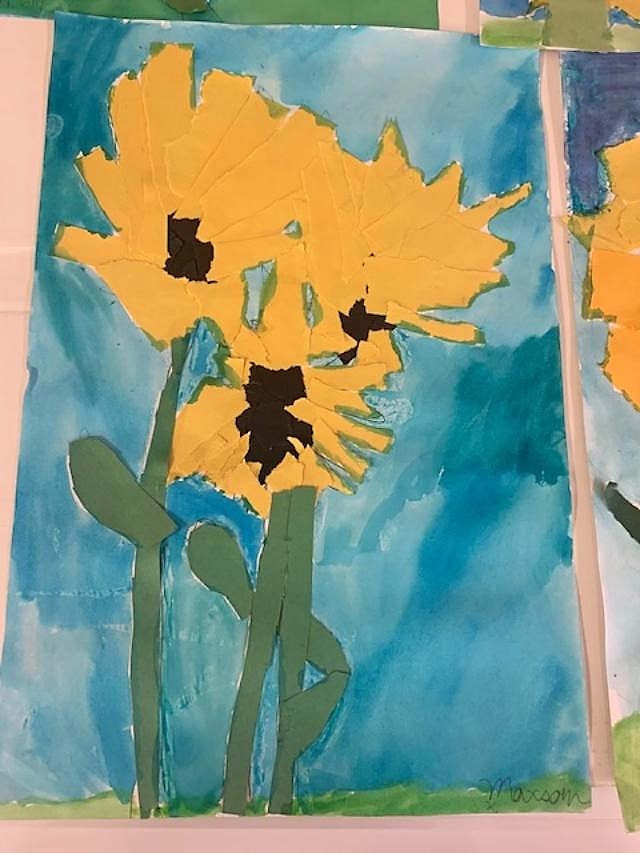
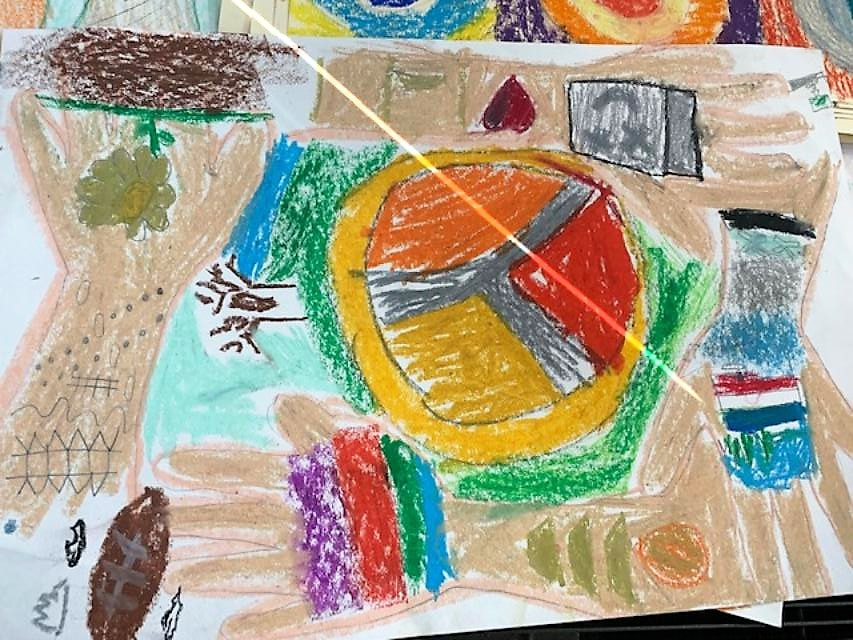
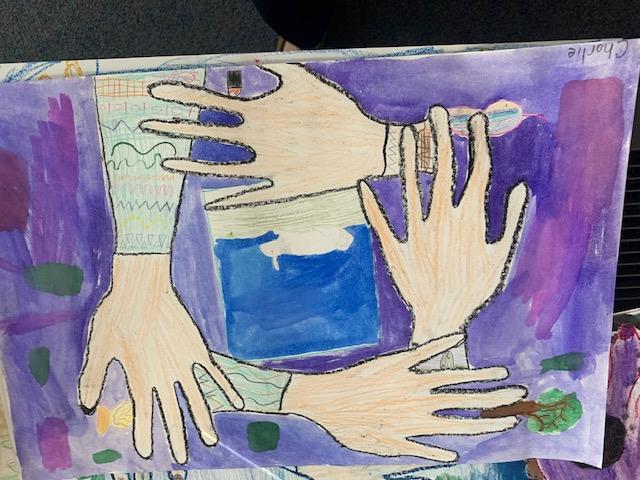
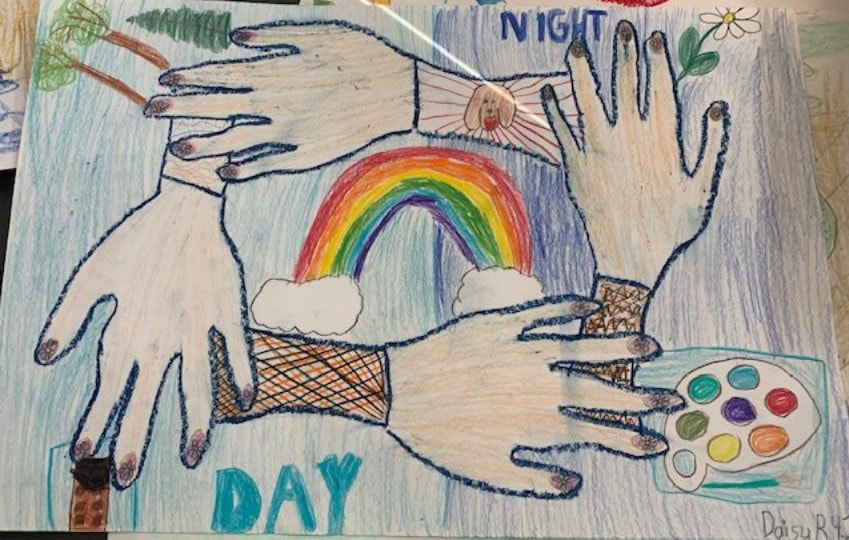
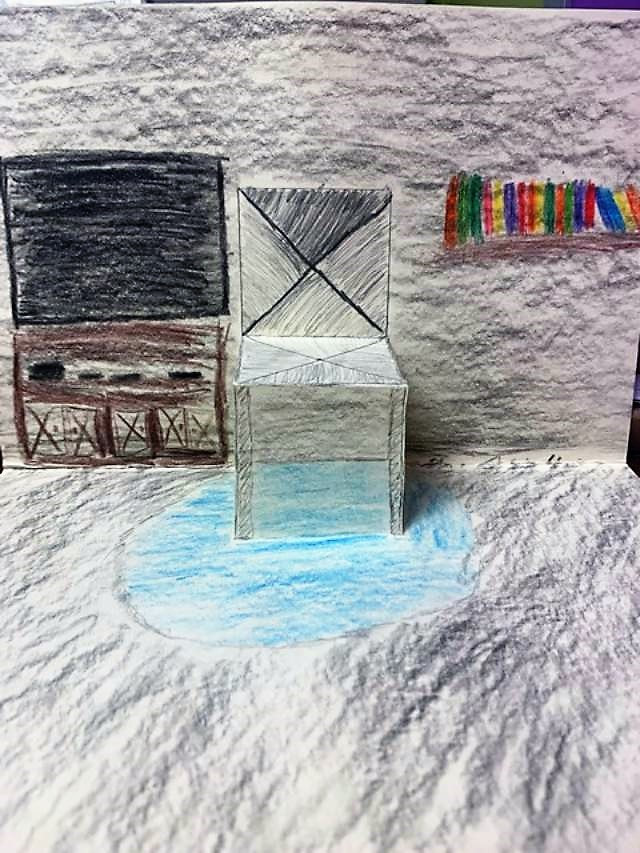
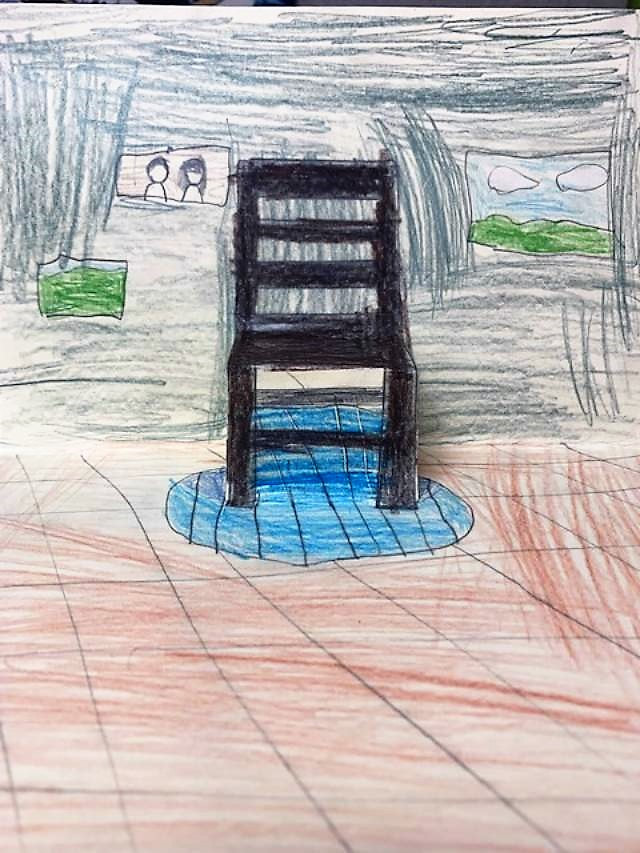
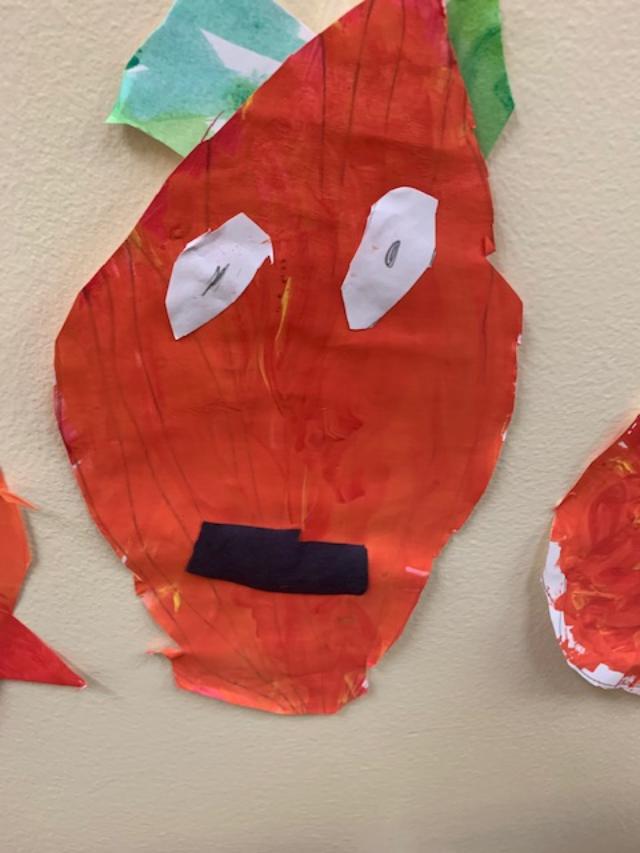
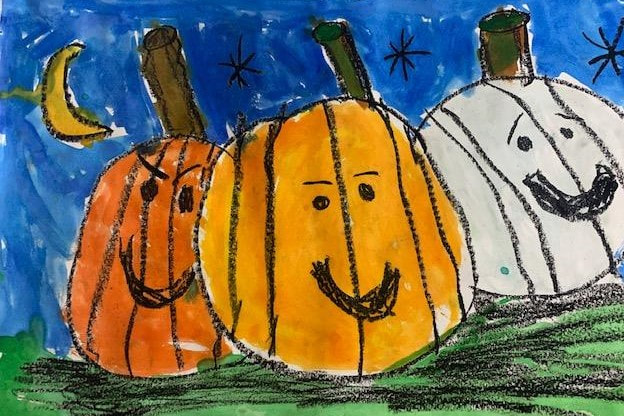
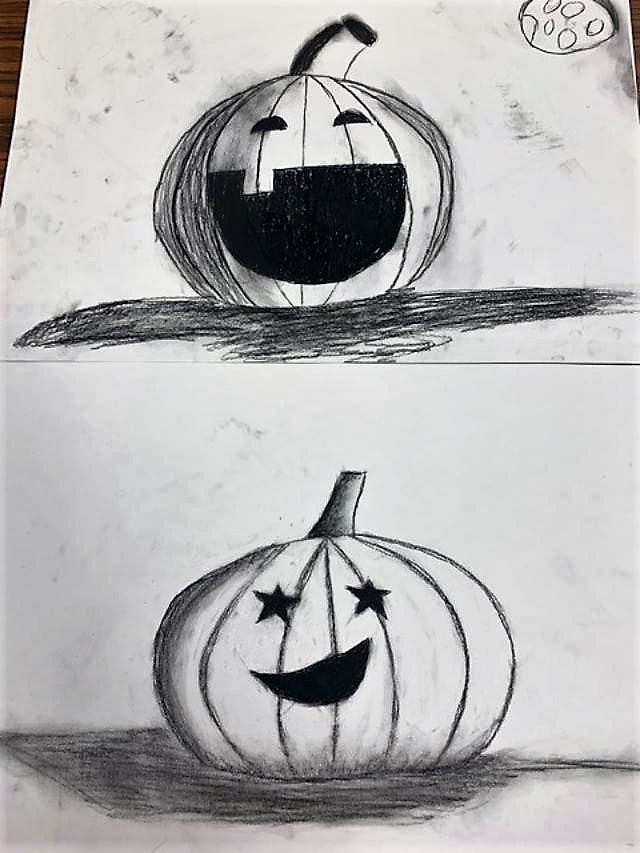
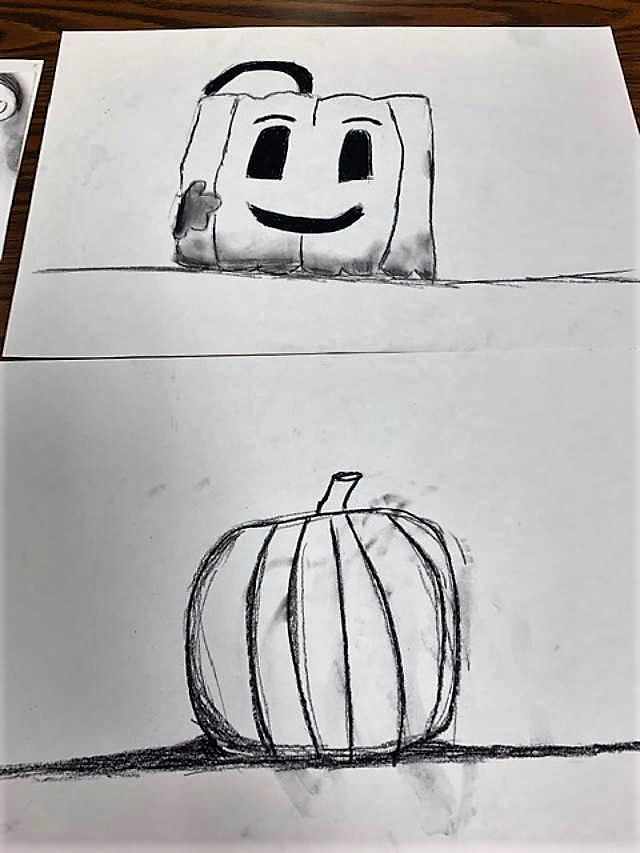
These are going to be gorgeous when done but they are still works in progress. We started by looking at contemporary mosaic artists online and the students loved seeing all the different ways mosaics are used...for stairs, columns and, even, pothole covers. They broke into groups and used a class period to cut their mosaic papers. Seeing them collaborate on who would cut which color was the best. We drew a cornucopia on scrap paper as I explained that it was the shape of a goat's horn and that Greek and Roman mythology use the cornucopia as a symbol for bountiful food and that is why we use it at Thanksgiving. The next week they redrew their cornucopia and fruit on black paper and started building their mosaics. Stay tuned. 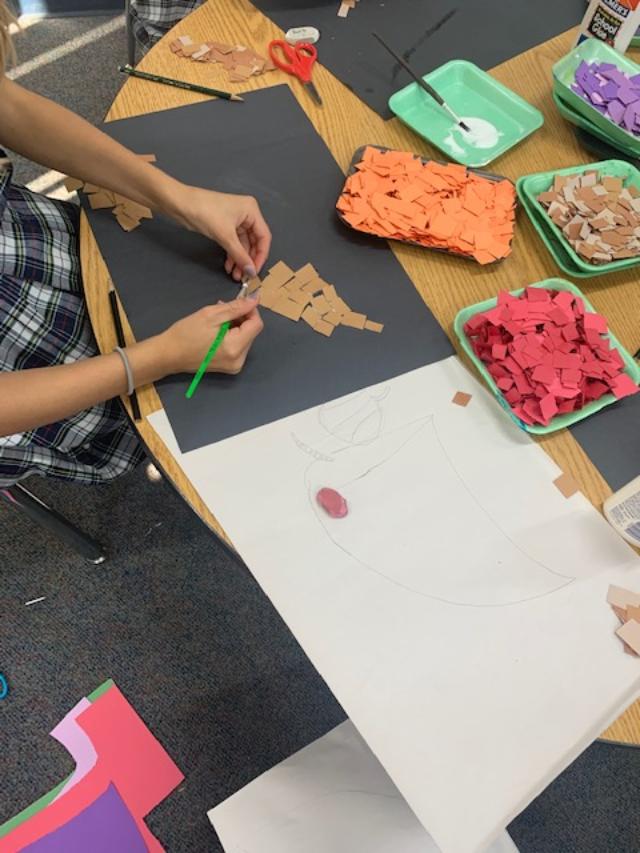 1st Grade OwlsThe kids loved these finished projects. After leaving them in the art room for a week to dry, they came running in the next week, looking for their baby owls. I wanted to give them a project where they could be creative and add some texture because later in the year, I really want the students to use their creativity to add texture and materials to their paintings. We used old cardboard tubes and bent the ears down to make the tufts of the owl's head. We did talk about the parts of the owl...the tufts, the talons, the wings. I put a slit on the top of the tube and a slit on the bottom for the students to tuck their yarn into after wrapping it around the tube. Some did this easily, others had a hard time, so, it was a good project to get them used to using their fingers for small tasks. They then designed their own beaks and feet, and used painted papers to add wings. We added eyes with glue. 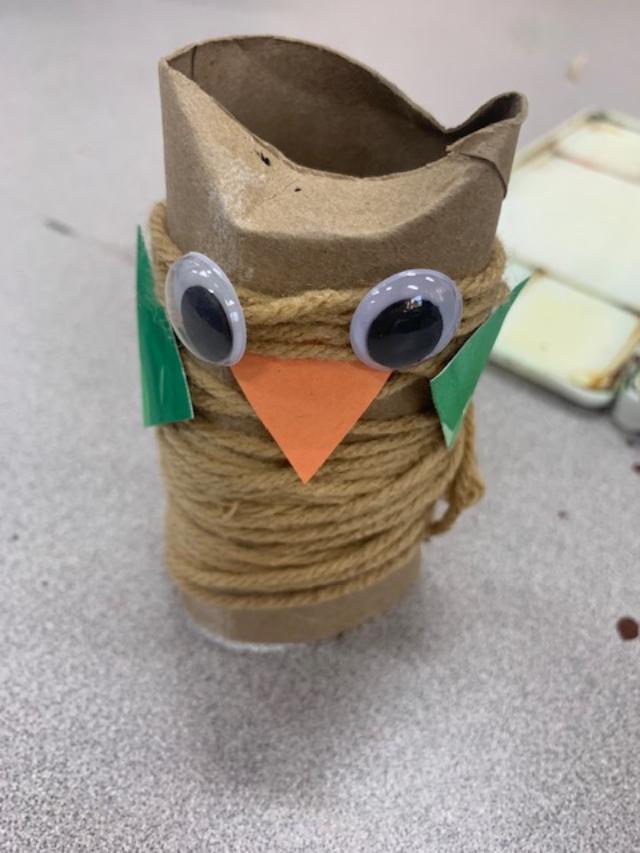 First Grade Watercolor/Oil pastel Turkeys These turned out so fun! The students were given dark oil pastels, purple, blue, black. I took them step by step through a turkey drawing. We went right to the good paper for our turkey drawing after they watched me demonstrate two times. Sometimes, I like them to draw it out on a 'sloppy copy' first but this week we were in a time crunch, so right to the good copy we went. They then watercolored in the turkey and background in any color they wanted. And, we added a real feather at the end. Next year, I might add a tiny hole to the top of the turkey head and place the quill through the paper and tape behind. Apparently, lots of feathers were flying off our little turkeys with just glue stick. But, an easy fix. Love their little turkeys! Kindergarten Woven TurkeysThis was a two week project. I cut out strips of paper and the students had to go 'shopping' at our art store...which is just my counter in the back of the room, with trays of art supplies...ssshh, don't tell the kids...they think it is the best. They could pick out two colors of paper strips for their turkey bodies. I had the bodies precut with slits for them. We wove the strips through the bodies. They needed some help but they got the hang of it pretty quickly. The next week, they made their turkey heads, added legs and drew their own feathers. I let them glue the heads on where they thought was best. What a fun turkey project! It started as a project for those that were done early in the 4th grade. I sketched out Starry Night on blue paper and had the early finishers, fill in the spots Van Gogh style with choppy oil pastel strokes. They LOVED doing this. Maybe the size of the paper was fun to work with. Since they had so much fun, I asked them to help me with the 1st grades' Van Gogh sunflowers. They painted the vases and glued on the 1st graders' beautiful watercolor oil pastel sunflowers. We ended up doing 3 Sunflower vase murals because they couldn't stop creating. Love it! 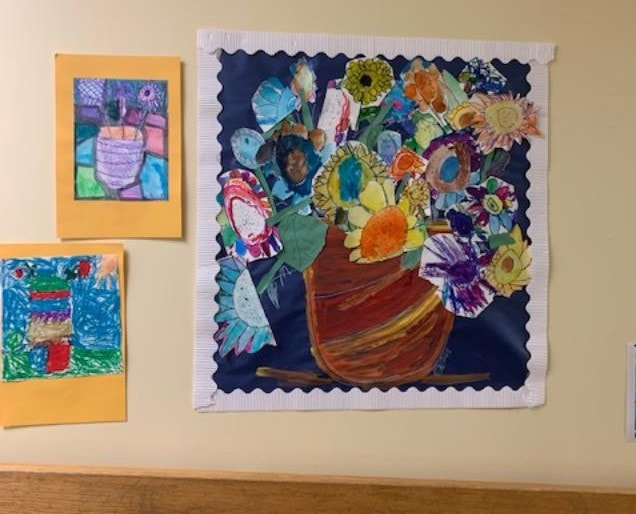 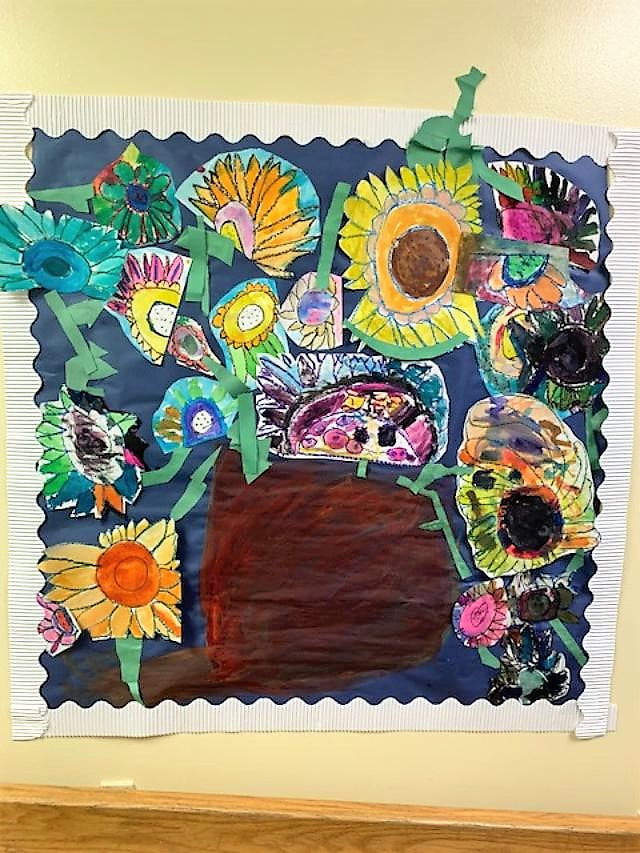 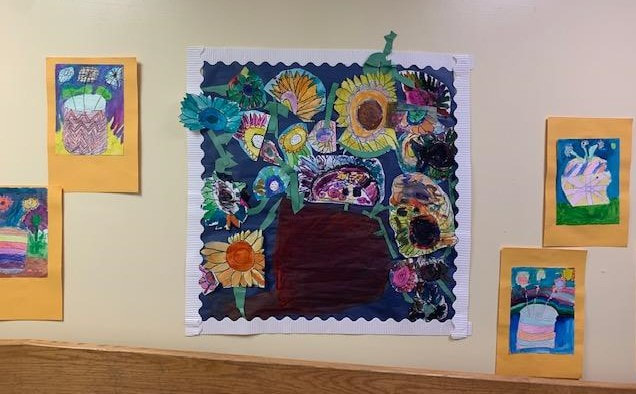 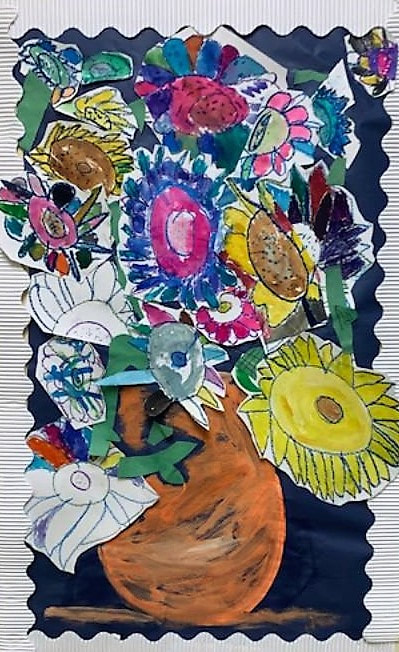 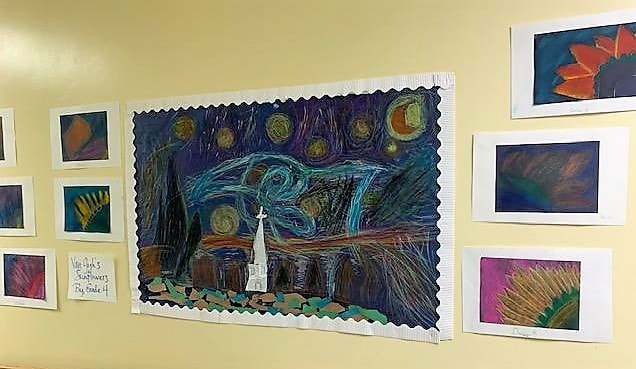 After a demonstration on drawing sunflowers, the students were asked to draw three large sunflowers in pencil on white 11 x 14 paper. They were then told to fill in the sunflowers with torn pieces of construction paper. To prevent waste, they shared the papers. A few did cut their papers and the effect was different. All of the colors of the construction paper were available for use. It was really interesting to see what combinations they chose. Watercolors were used in the background. The students really enjoyed designing this one. They each traced or drew their hand four times around the page. After exploring line, they were told to decorate the sleeves of their hands with different formulations of lines. They then put something that represented themselves in each hand. They could create whatever background they wished. Pencils, watercolors and oil pastels were the choices for this project. This was a 2 week project. It was easier to show the students the steps with a YouTube video. Google Van Gogh DIY on YouTube: Vincent Van Gogh Art Project for Kids | Pop up Chair | Art lesson for Kids - YouTube They could see the basics of the project on the screen better with this. After watching the first few minutes, I then instructed them to design a chair like Van Gogh and to decorate the room as they wanted. They only had to add one thing of Van Gogh's in the rooms. They were really creative: a Starry Night rug, a vase of sunflowers, a window with Starry Night. They turned out amazing. More photos to follow. These are the beginnings. October is a busy month. The art classes never seem to be long enough because there is so much material in October - pumpkins, leaves, fall trees, ghosts, haunted houses, the autumn colors. It is month for artists. But, we did our best to create some really fun projects. Take a look. Kindergarten Silly PumpkinsThese were SO MUCH FUN. Messy. Really messy. But, fun. It took 2 weeks for these pumpkins. The first week, the students were given a white piece of tagboard and told to make a pumpkin shape. We talked about shapes of pumpkins and how they are bumpy and lumpy and can be big or small. They each drew their pumpkin shape with pencil. They then were given a palette with red and yellow paint. They were told to paint their pumpkin. Lots of hand went up asking for orange. It was a great exercise in mixing colors and getting different variations of orange. And, the look in their eyes when they realize red and yellow make orange is worth all the mess. They painted and then used the scraps to make eyes. The white paper stuck to the wet painted papers, so not much glue needed. The next week they were given blue and yellow and told to make stems and leaves. I also gave them black paper scraps and told them to make faces. One student made a bat pumpkin and many followed suit. I loved their ideas and their pumpkins. It is fun seeing what they come up with. Fourth Grade SkeletonsWe looked at Day of the Dead Skeleton designs. I know Day of the Dead is in November but it fits with Halloween so I thought they would like to explore these. We sketched a skeleton head and neck in pencil on scrap. After they explored which designs they would like to use, they penciled their designs on black paper. They painted the bones in with acrylic white or white oil pastel. They then added designs and spider webs with oil pastels. Some decided to do pet skeletons and I thought it was an awesome way to use their creativity. Next time, I might have them do their animal skeletons a bit bigger or just the head of the animal. The younger students loved seeing the 4th graders' designs. 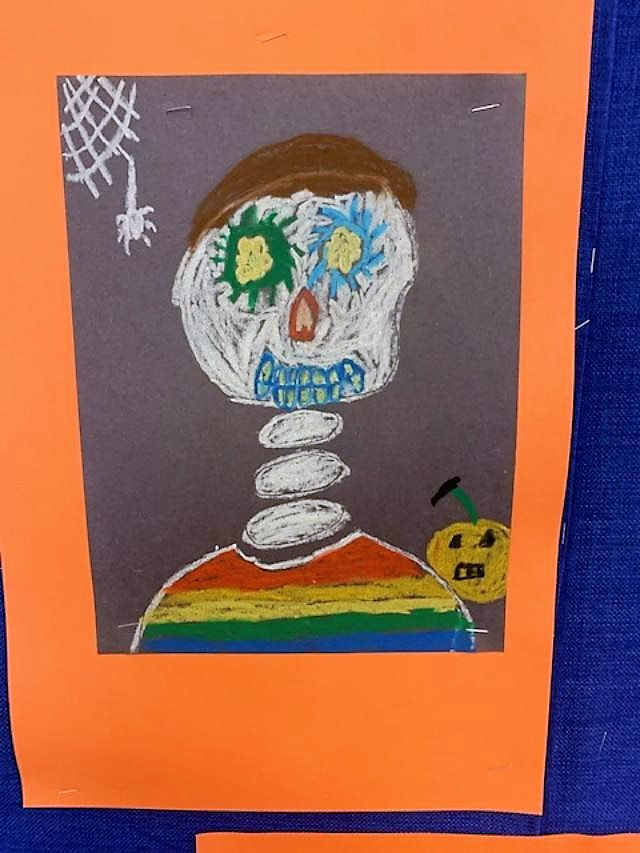 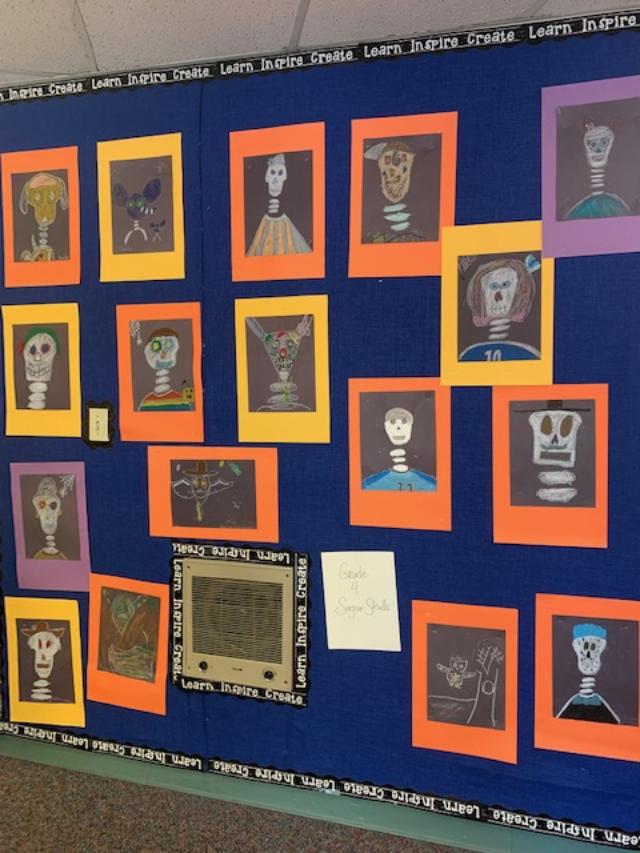 First Grade Pumpkin TriosThese turned out so awesome. I took the kids step by step in drawing 3 hugging pumpkins on white 11 x 14 paper. Once they liked their pumpkins, I encourage them to be ok with little bumps or crooked lines, they traced their pencil with a dark oil pastel. I gave them either a navy or black pastel. They could choose to do faces. We then watercolored the pumpkins on week one. I did not give them instructions on color for the pumpkins because, gosh, their color choices are fabulous. On week 2, they were told to watercolor the background. I loved their color combos and they were so proud of these. 8th Grade Charcoal Jack-o-LanternsI love these! We discussed shading and using a light, medium and dark value for their pumpkins. They used their Ipads to find interesting pumpkin faces. They did a great job. I think next time I would love to offer them the option of watercoloring the background. It would be a great contrast with the charcoal. These are still in progress. Eraser smudges and details needed to be added but I couldn't wait to share. |