|
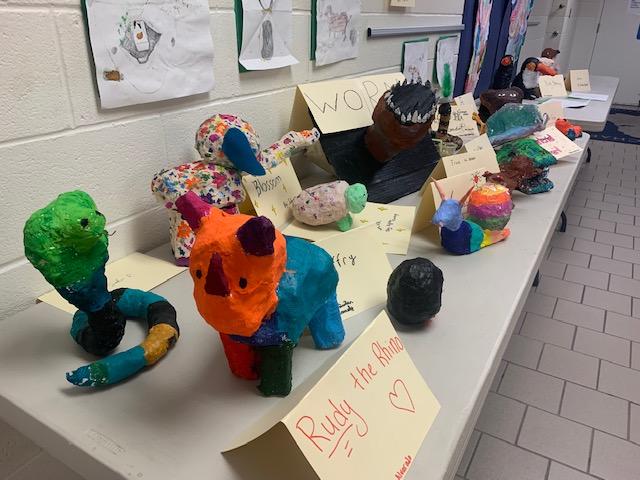
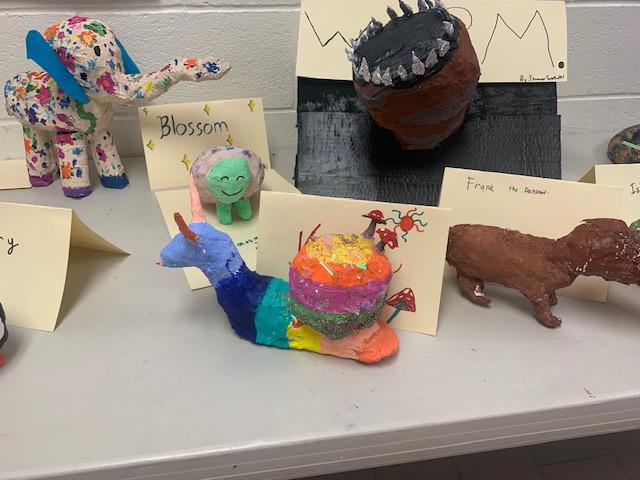
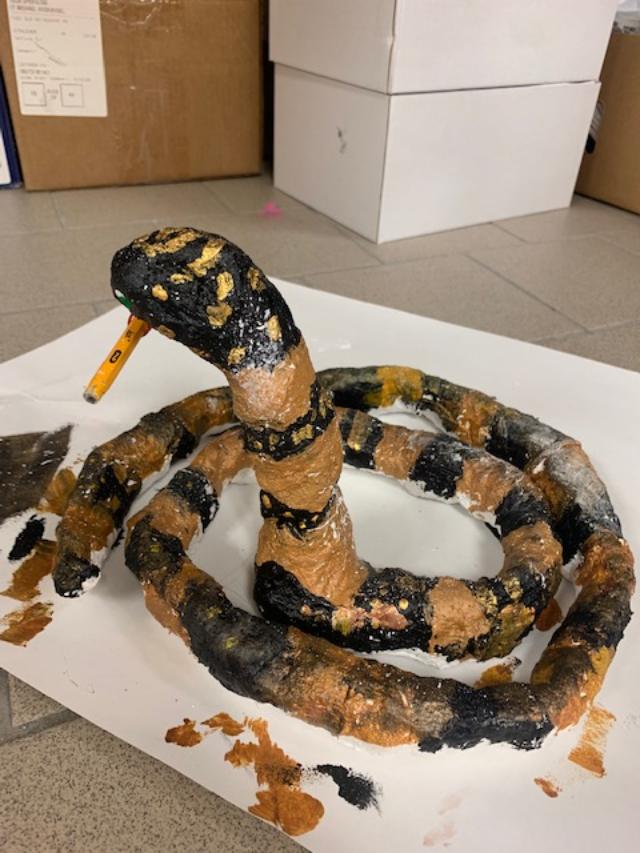
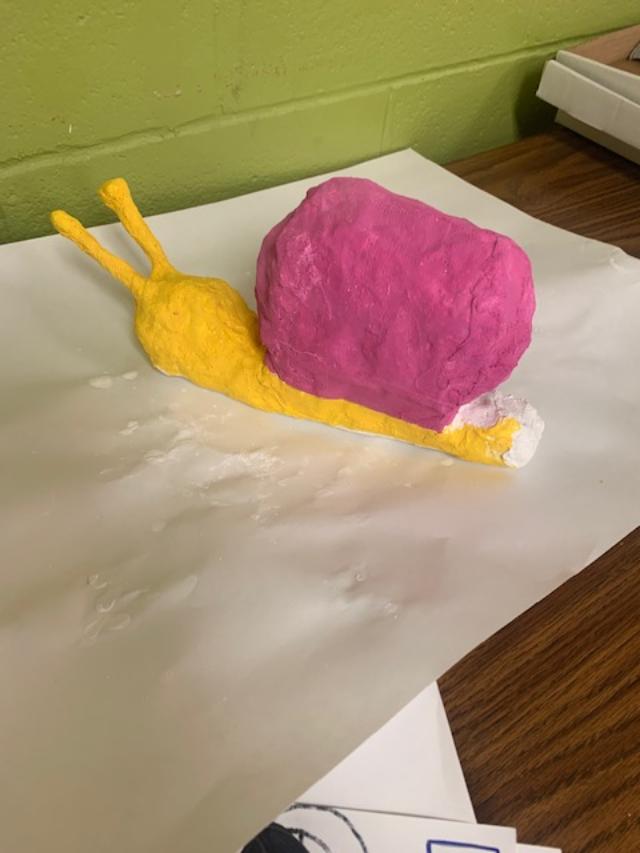
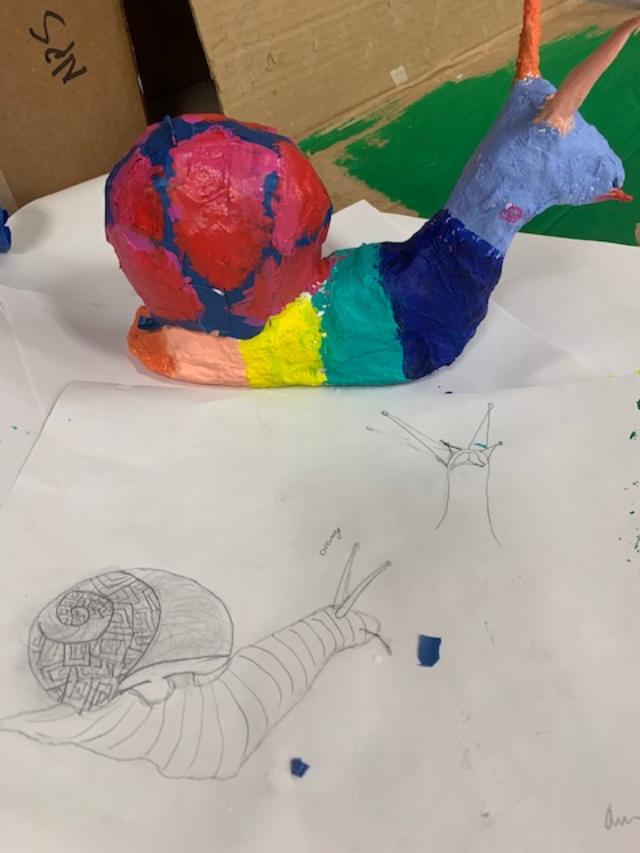
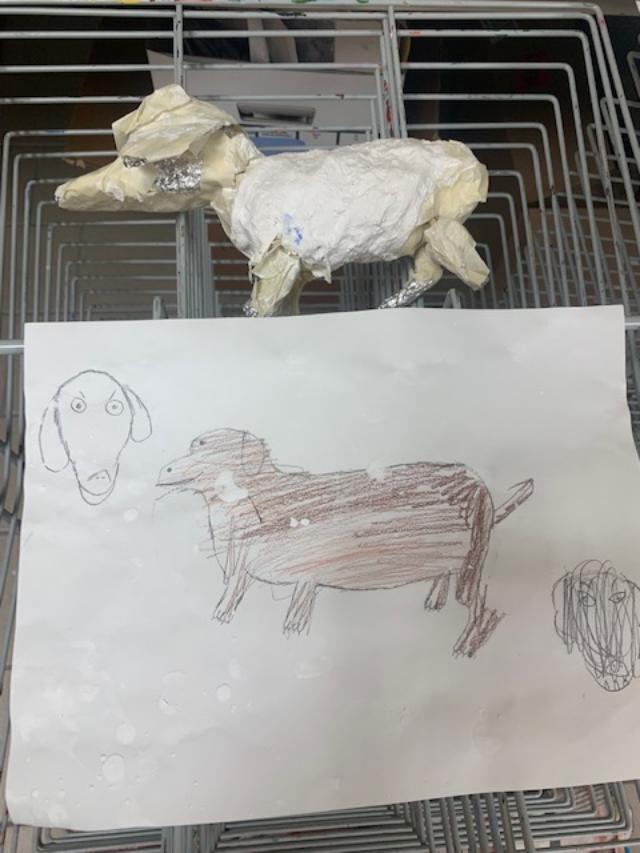
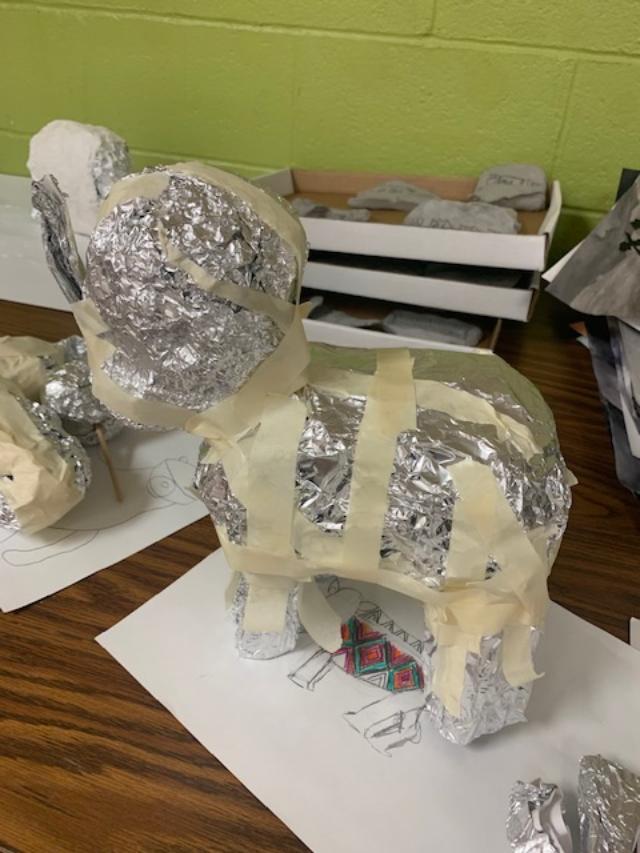
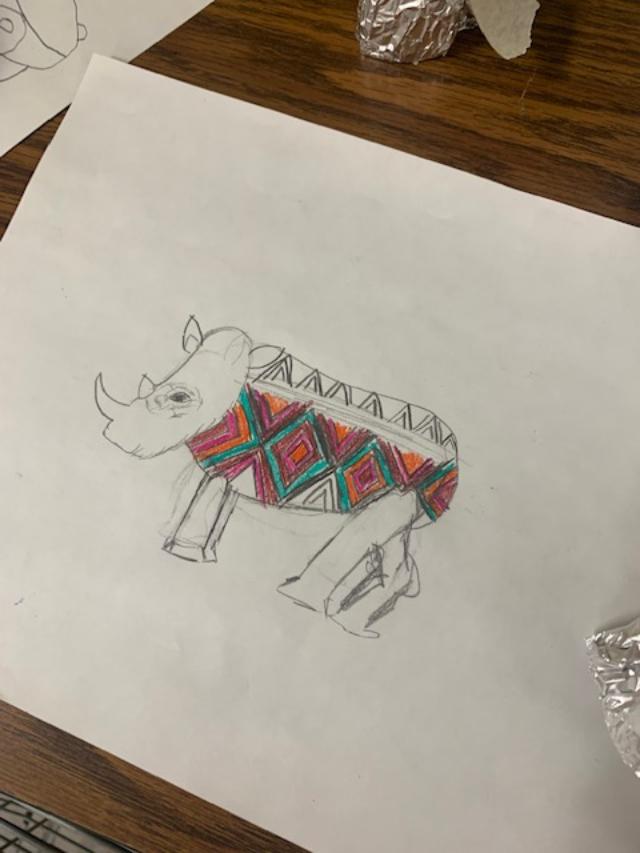
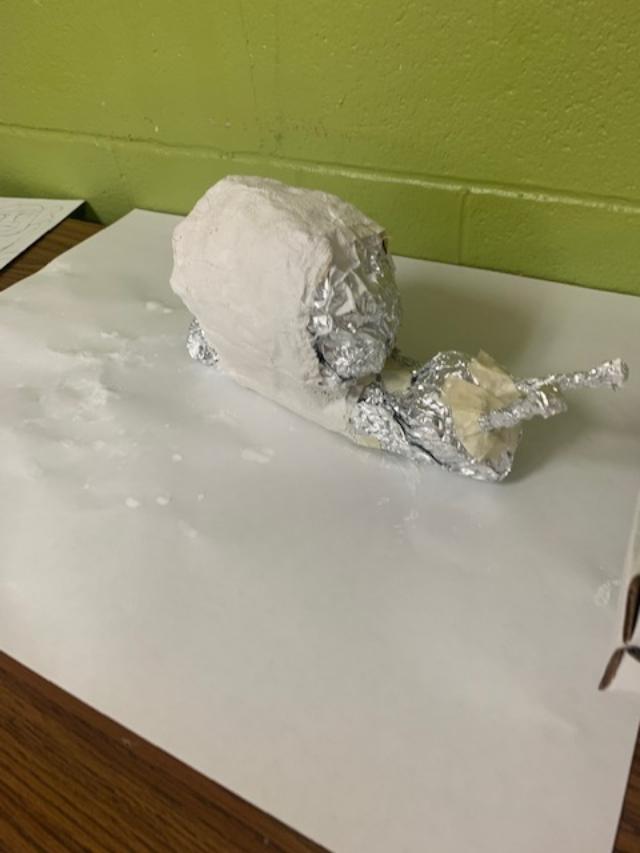
This was all about the process and it was amazing. The students chose any animal they liked. They then sketched the animal out from two different views. Side full view and front view. From their sketch they made a 3D animal out of paper and tubes. They then used tinfoil to wrap the paper and tubing in place and many used tape to secure or hot glue. It was fascinating to see whose sketch actually resembled their object once constructing began. Many animals changed as the building of the animal transpired and it was incredible to watch them think like artists. Not one student got frustrated when their design didn't resemble their sketch. They just reevaluated and kept creating. They, then wrapped their 3D animals in paper mache strips. This took about 2 classes for them to mold. After the drying stage, they painted their animals in whatever colors they wanted and added embellishments, like feathers or google eyes, if they wanted. The final step was to name their animal and display proudly in the hall. What a fantastic project that the entire class had a fun time doing!
0 Comments
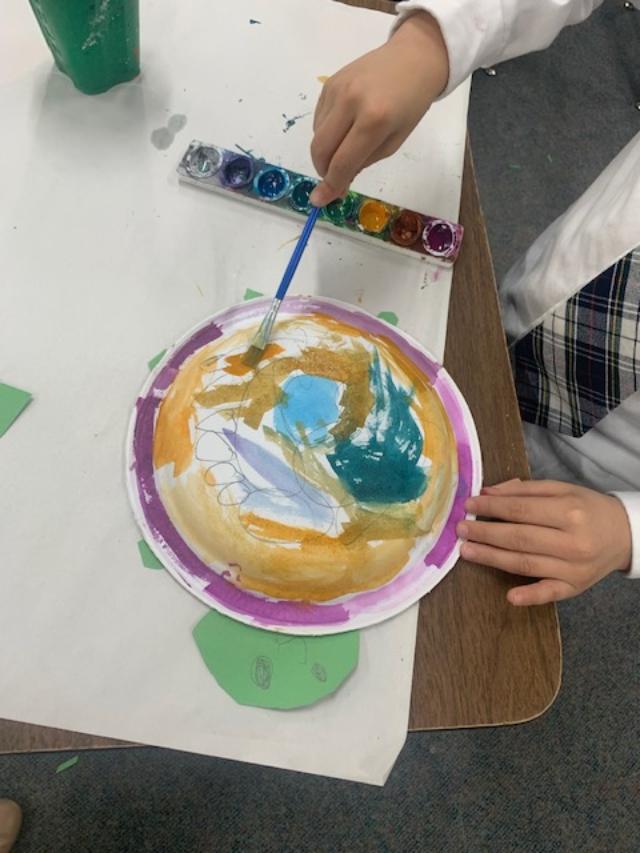
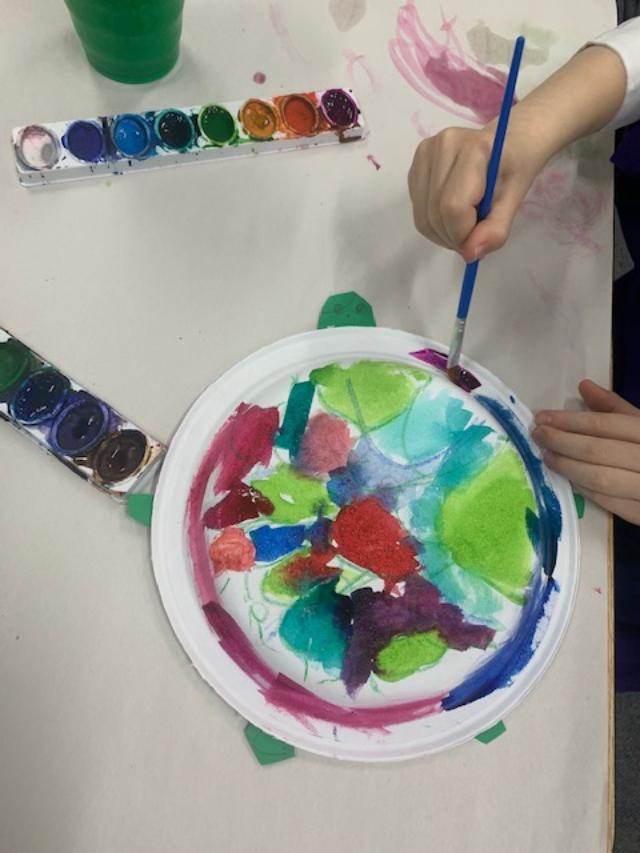
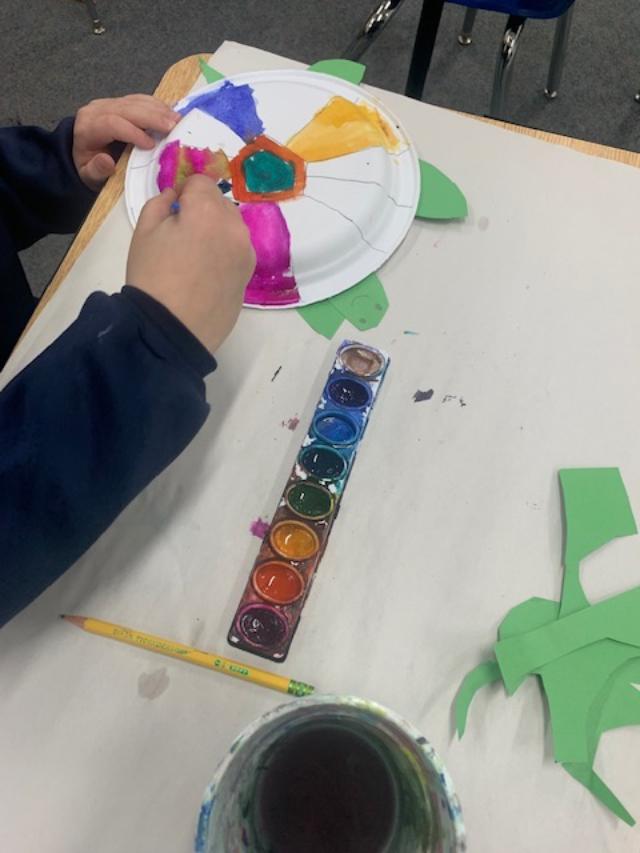
Sea turtles are the best! Especially, when you can paint the shells however you choose. The kindergarteners used a paper plate to design their sea turtle shell. We talked about how to start at the center and build the design out with shapes in pencil first. After penciling their design in, they watercolored the shell in any colors they wanted. They then used green construction paper to draw the head, tail and 4 flippers. This was an exercise in counting....6 turtle parts they needed to cut and design...and a cutting exercise. The more cutting practice they get, the better. The students have become much more confident with their cutting skills and they all hold the scissors correctly. Thanks to all the amazing kindergarten teachers and parents who help them with these important fine motor skills. They loved their little turtles...so colorful and fun!
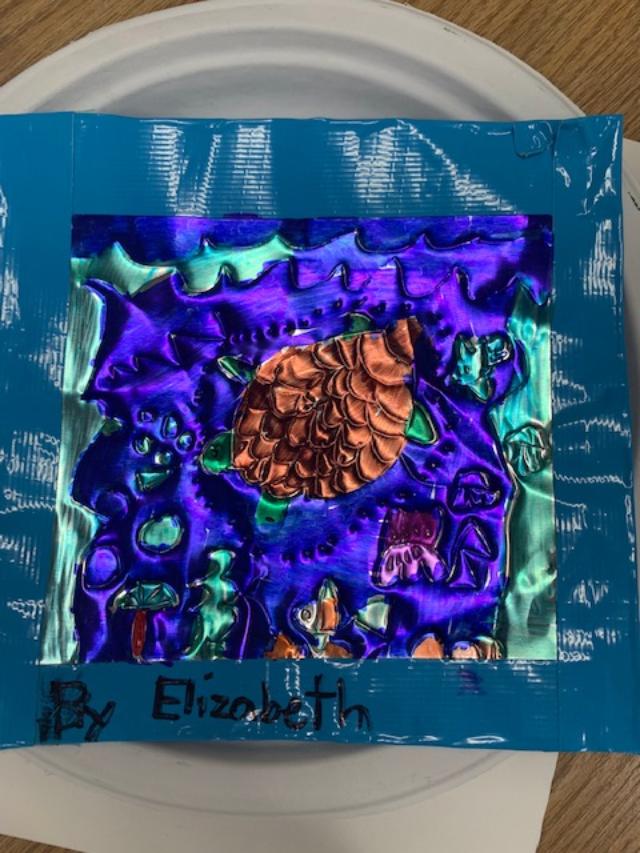
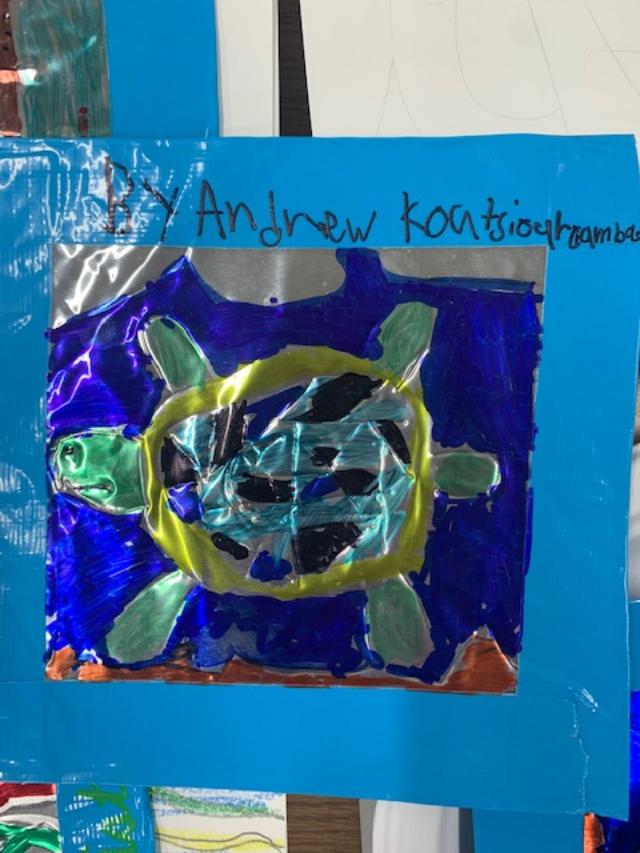
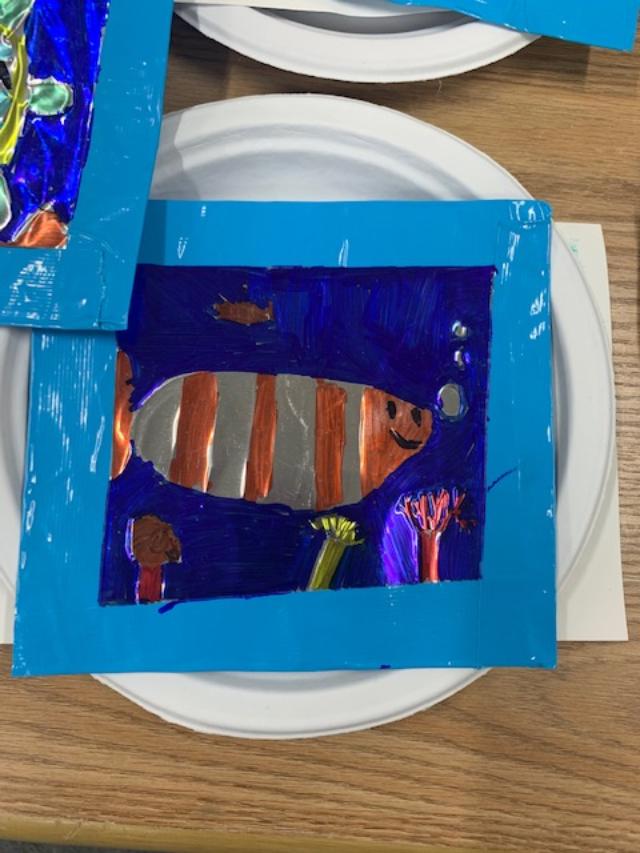
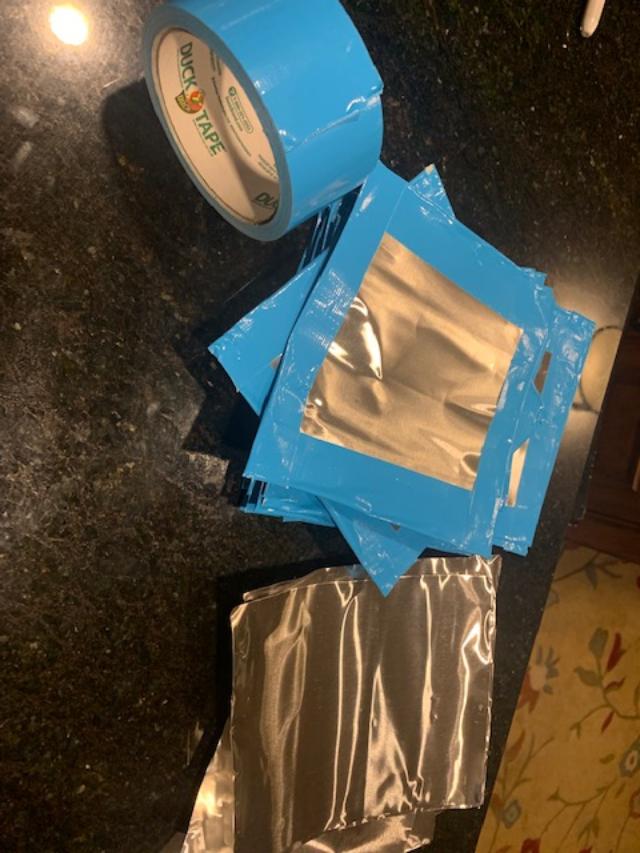
These look so pretty! The students chose an under the sea animal and sketched it on paper. They then used their sketch to hammer in the outline with a wooden pointed dowel. The best part for them was using the colored Sharpies to color over the metal. Anytime Sharpies come out it is like Christmas in the art room, LOL. I didn't want anyone to get a paper cut, or, in this case, a metal cut, so I prepared the squares at home by duct taping all 4 sides (see below). It added a little frame to each one and the kids loved this project.
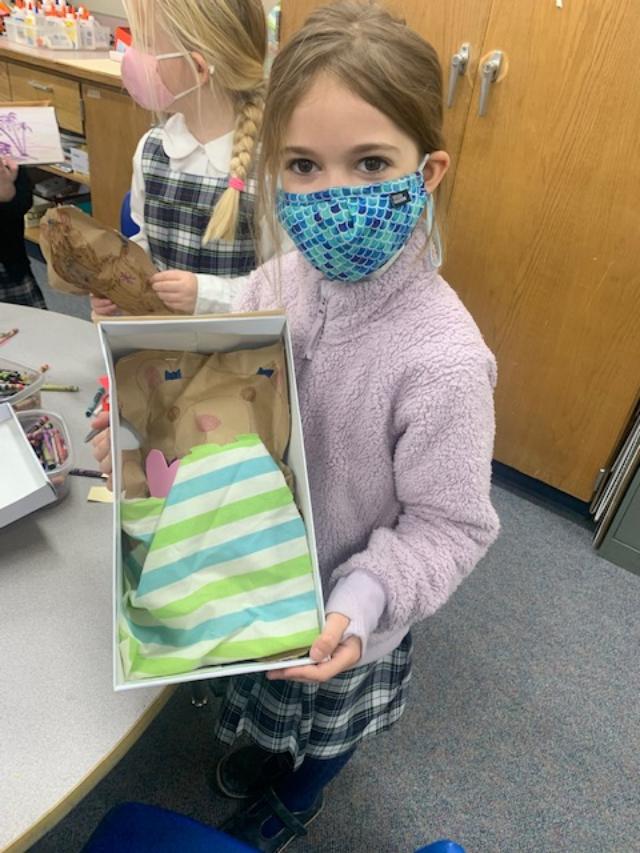
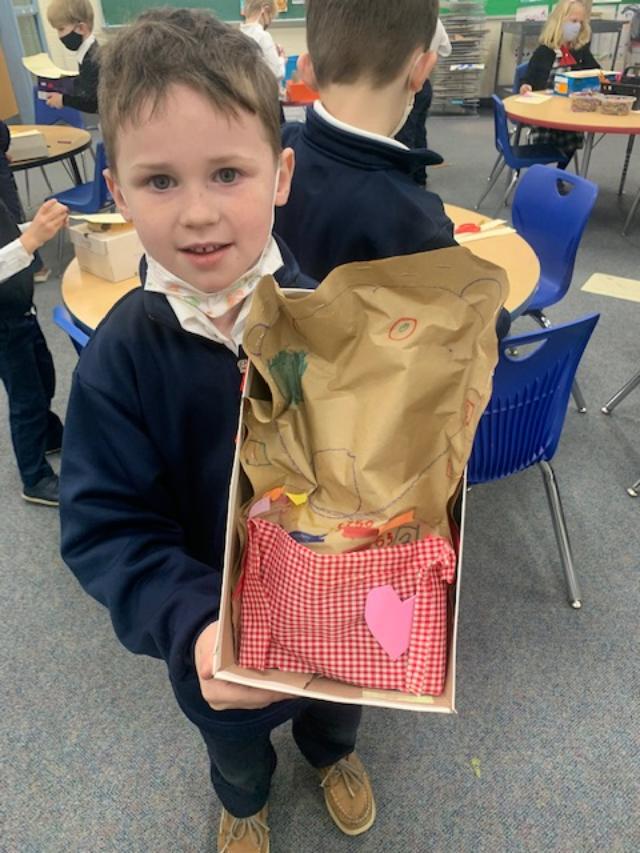
The kids LOVED this project! They each brought in a shoe box for their bear. Each child designed their own bear from brown paper. We had huge bears and tiny bears. We had bears with eyelashes and bears that like chocolate chip cookies. Once they designed their bears, I took them home and stuffed them. The next week they decorated their bear's den (the shoebox) and then they chose a piece of scrap material for its little blanket. A perfect winter art project.
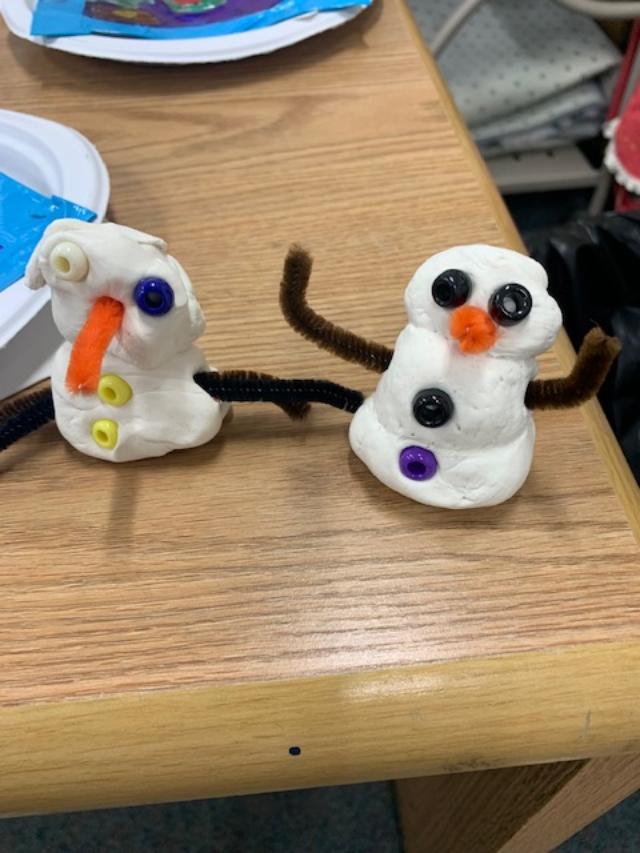
These make me smile just to look at them. The students made 2 circles of model magic. I like putting shapes into our lessons and also love having them use their hands for small things. This was perfect. They rolled 2 circles and then formed them into a snowman. They used beads and pipe cleaners to make their little guy come to life.
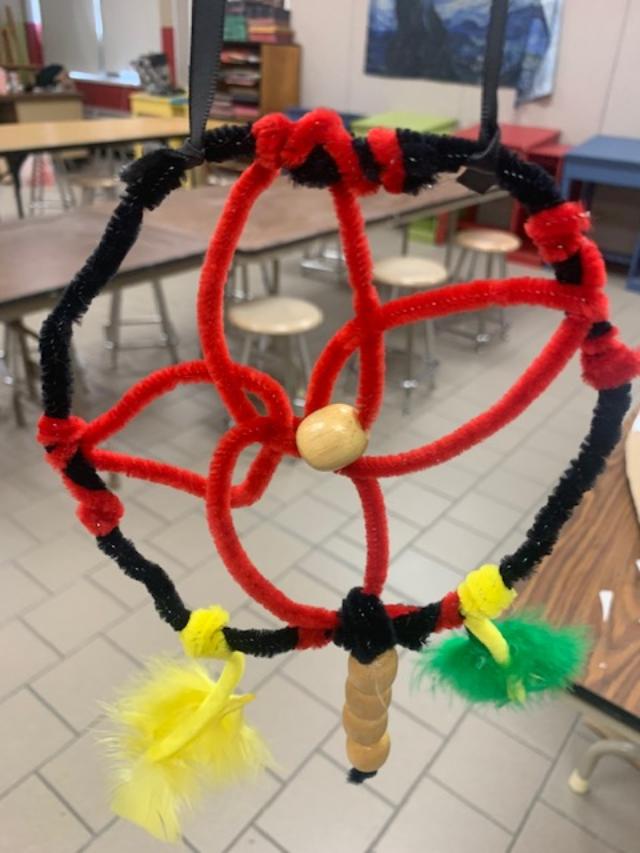
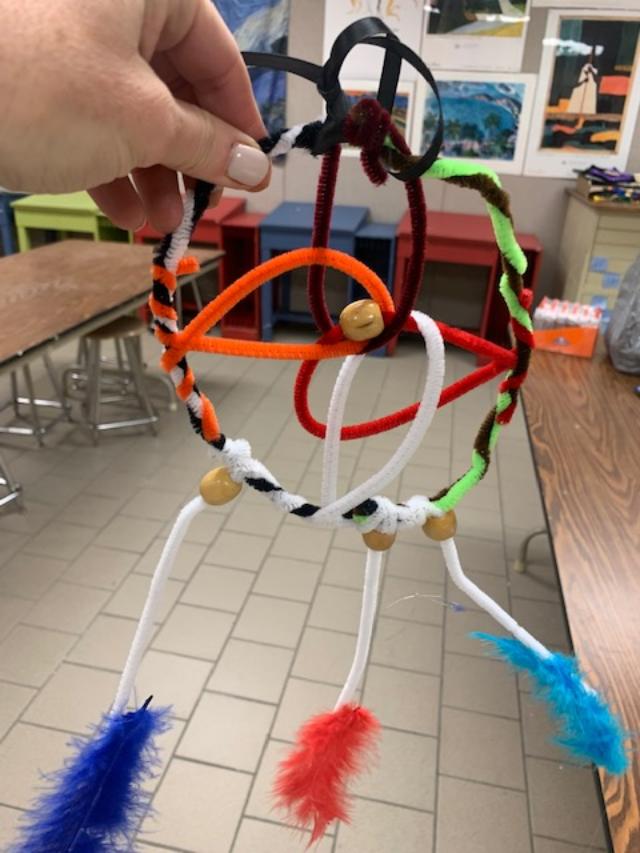
Dreamcatchers and Totem Poles tied in nicely with the 5th grade's Native American Social Studies unit. We used pipe cleaners for the dream catcher design, mainly because I had an excess of pipe cleaners. They actually worked really well. We started with a basic design for the center and added beads and hot glued feathers to the end.
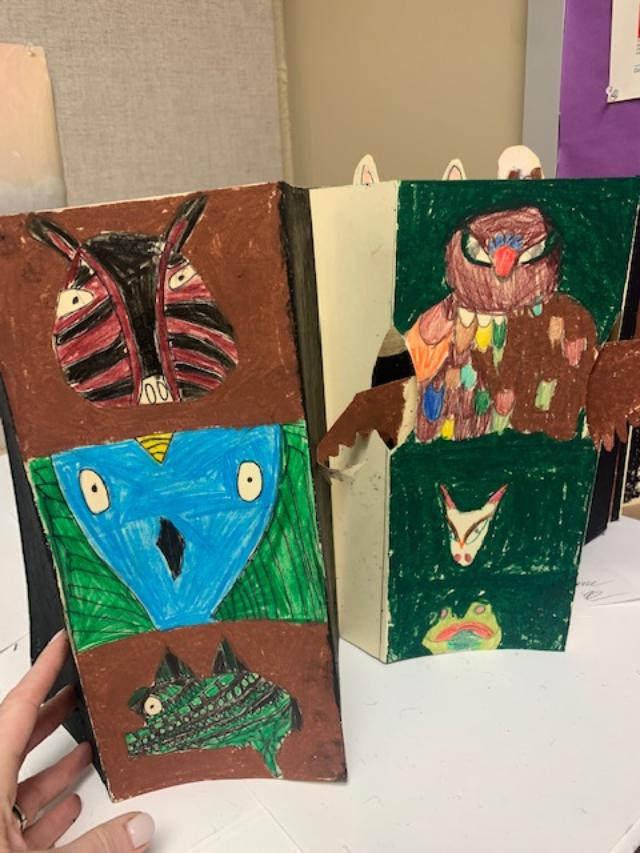
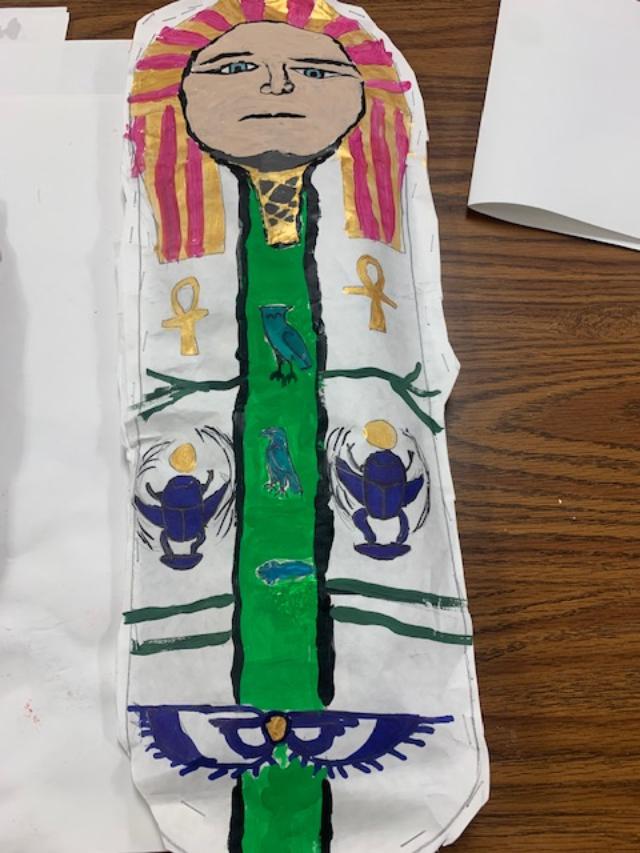
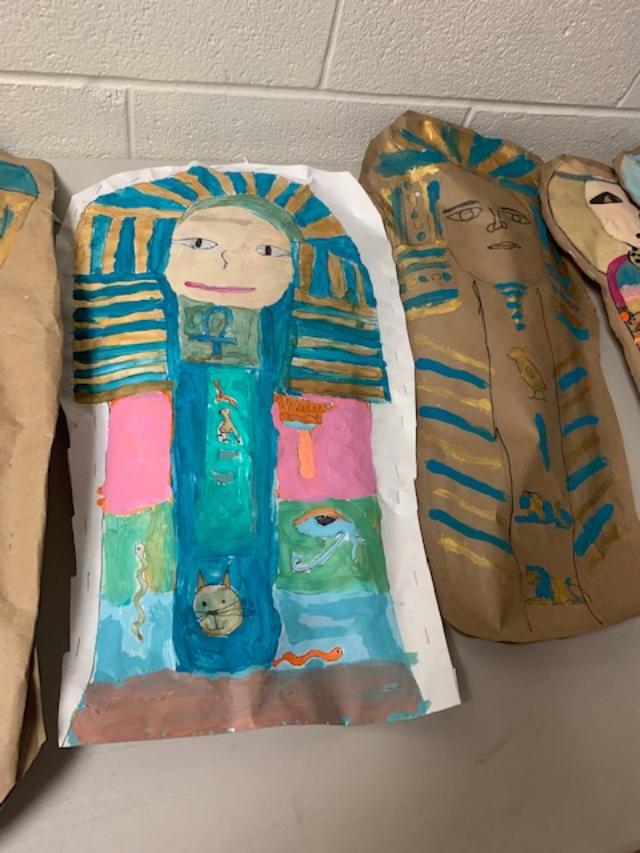
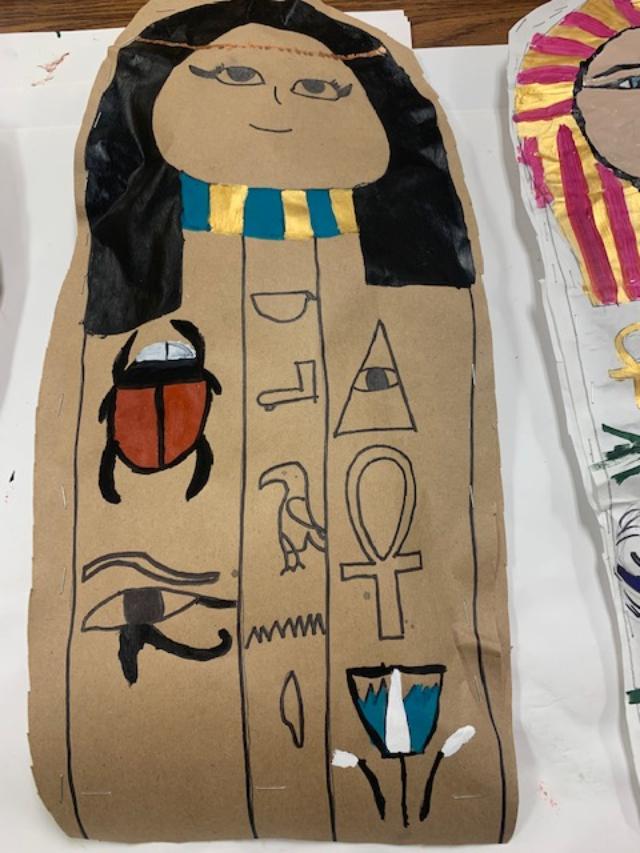
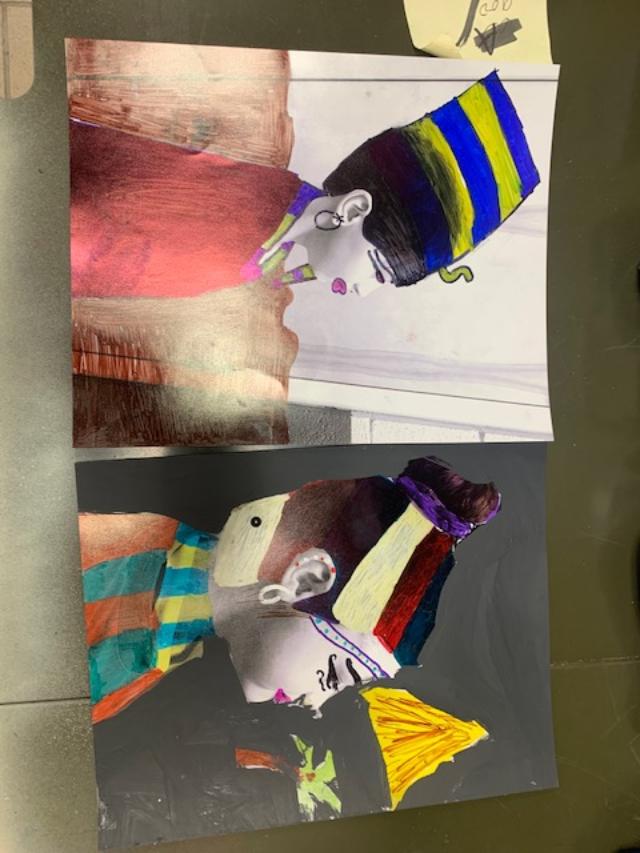
The students designed totem poles on card stock. They sketched out 3 North American animals that they wanted on their totem poles. After their sketch was complete, they used oil pastels on folded card stock to do their standing totem poles. I love combining the students' lessons with art. They were studying Ancient Egypt in Social Studies and that period of history is an art teacher's dream. Each student began the paper sarcophagi by researching different hierolglyphic symbols in their art journal. Words like scarab, Eye of Rah, etc. They penciled in these symbols in their journals. They then used Penn Museum's Archaelogical website to look up what their name would be in heiroglyphics. They were to write these symbols down the middle of the sarcophagus. Each student designed their own. We went over different sarcophagus designs and sketched them before doing the good copy. After painting, we stuffed them and stapled them. I had 8 x 10 black and white side profile pics taken of each child. After they were done, they were to decorate their photo as if they were living in Ancient Egypt with Sharpies. They loved doing it but since they are middle schoolers, after all, I couldn't convince many of them to let me hang their finished photos in the hall. LOL.
|
AuthorRoey Ebert |
