|
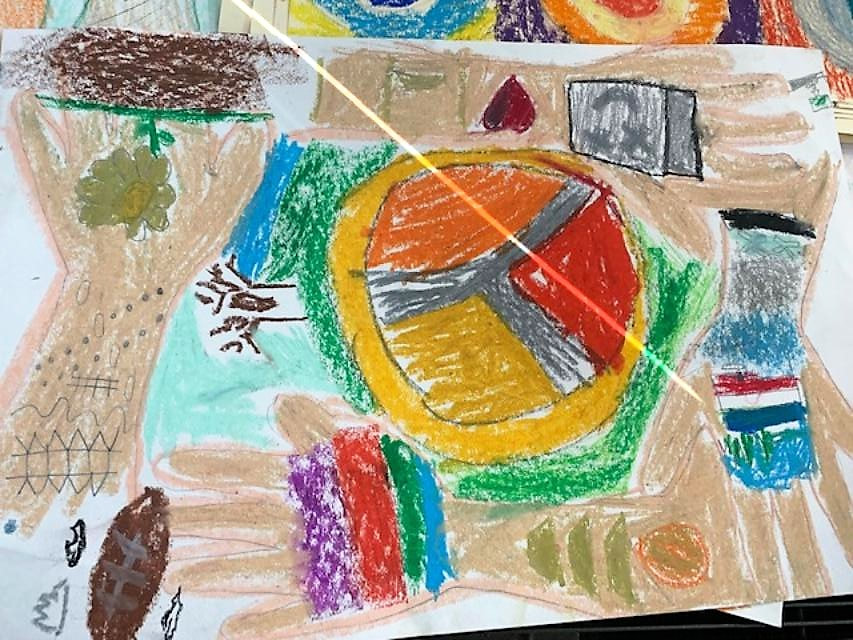
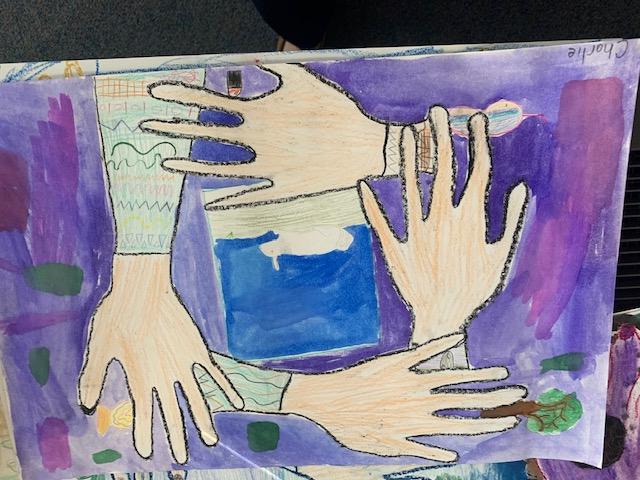
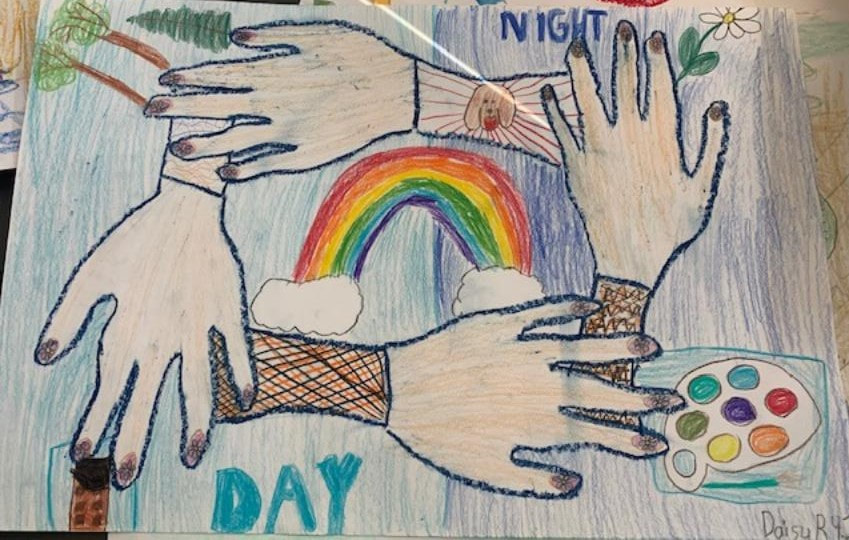
The students really enjoyed designing this one. They each traced or drew their hand four times around the page. After exploring line, they were told to decorate the sleeves of their hands with different formulations of lines. They then put something that represented themselves in each hand. They could create whatever background they wished. Pencils, watercolors and oil pastels were the choices for this project.
0 Comments
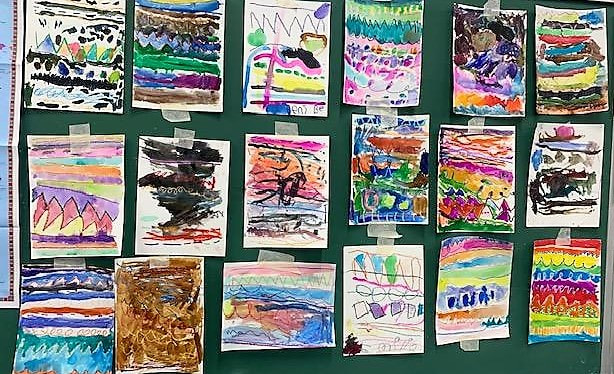
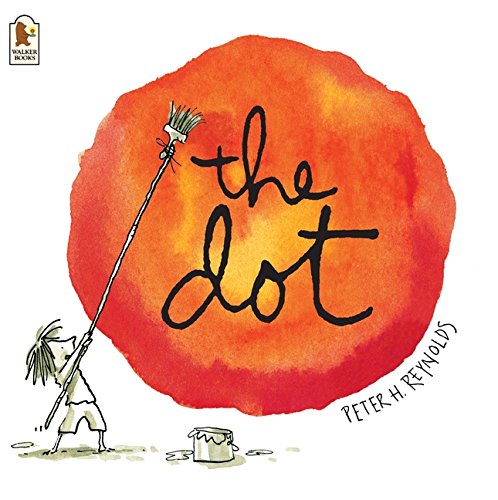
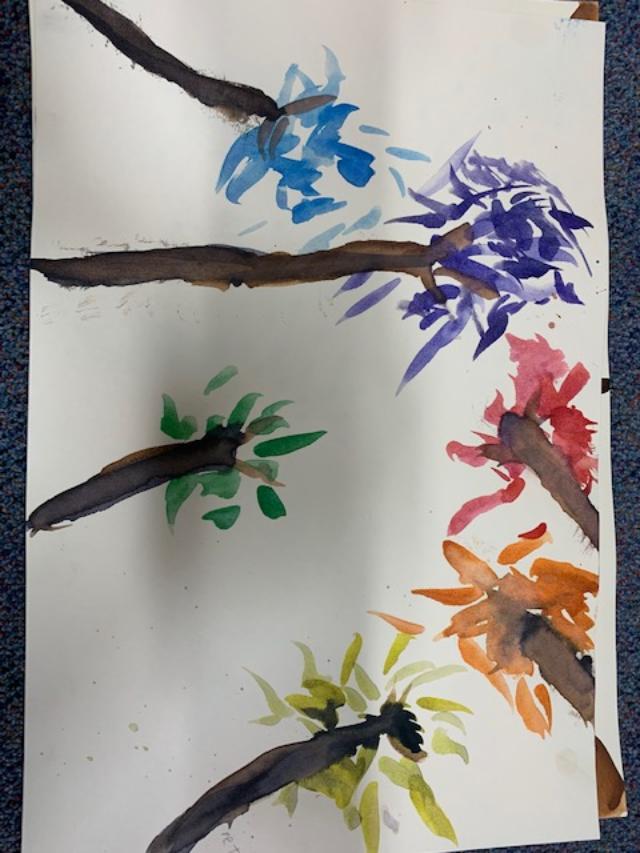
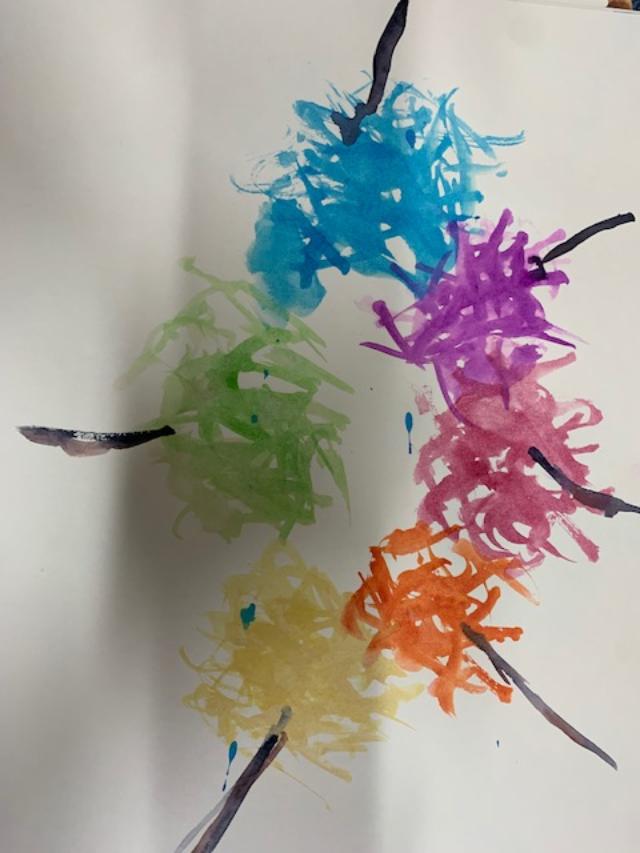
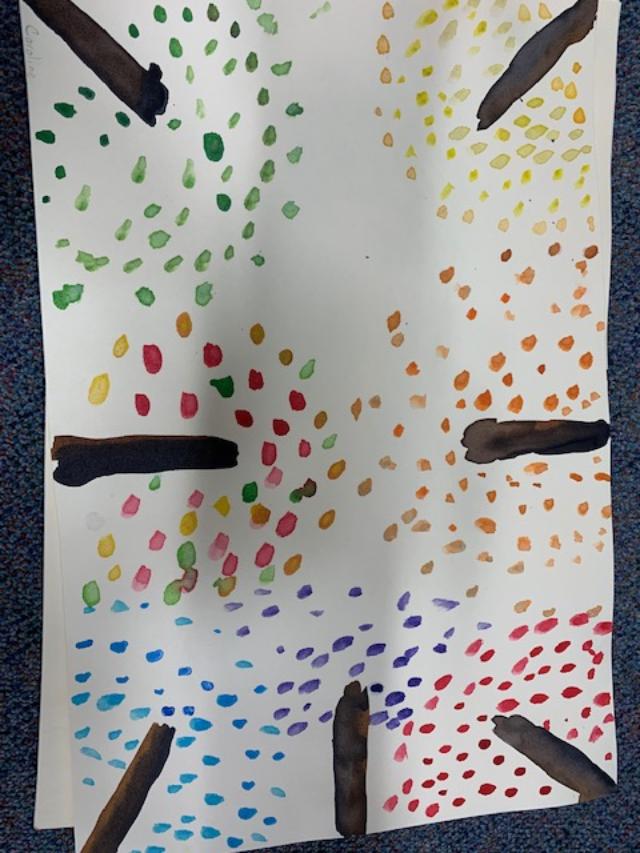
The first week of school is always a challenge for many reasons. For me, it was my first time back in the classroom in 23 years! Getting to know all the new students and the dynamics of who should sit with whom is the focus of my first days in the classroom. Once I get a handle on those things, I like to establish routines for my class that the children can easily relate to each week. For the Pre-K through 4th grade, I like to begin my art classes with a breathing exercise using the Hoberman Sphere. The students love the visual and I have them "smell the flowers" as they breathe in and "blow out the candles" as they breathe out for 4, before we start our art. I got a small one on Amazon for my class. I LOVE, LOVE, LOVE a good children's book and, plus, who doesn't like getting read to? I use them often in all of my classes and they are a great way to springboard into your art lesson. The first week I read "Ten Black Dots" (Donald Crew) to the Pre-K and 1st grades. We then used crayons to make a dot on the paper and they had to turn it into something. Some made flowers, some made eyes and some made more dots. The lesson was great to introduce them to some of the art supplies in the class, like the crayon buckets and also to get them used to tapping into that imagination. I wrote what they made on the back of each paper (because some of the drawings needed a guide, lol.) I had planned to give them a paper with just a black dot on it and have them turn it into something but this worked out just as well. 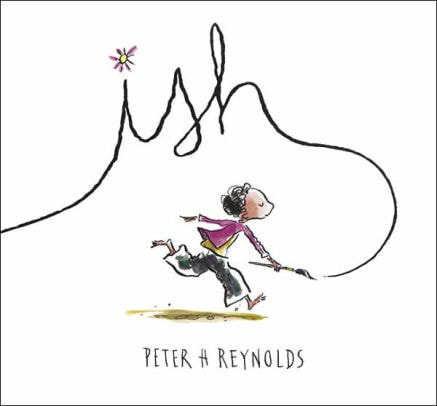 Grade 4 was introduced the story "Ish" by Peter Reynolds. Love this book because perfection is not the name of the game....delight in the process of making art is! I gave each student a piece of white paper and watercolors. I instructed them to crumple the paper up in a ball. They found that hilarious. I then called out the primary colors as they painted the crumpled paper in sections. They then refolded the crumbled paper and added the secondary colors at my instruction. They loved the blending that took place as the wrinkles melded into each other. They absolutely loved their finished crumbled papers and we dried them on the art racks. I told them we would use them for a future project but this was a good way to get the lesson started. The art lesson was a tree painting using the color wheel as a guide. They were given 11 x14 papers and instructed to start with the dots of the primary colors and then in between add the secondary colors. We added tree trunks to the dots. The second week we will add a sky around the trees and finish by mixing white and black to the colors to add depth to the artwork and investigate making different color tones this way.
AuthorRoey Ebert teaches Pre-K through Grade 8 art at St. Michael the Archangel School, Pennsylvania. Staying colorful with lessons to nurture the imaginations and creativity of all her students. |
AuthorRoey Ebert |
