|
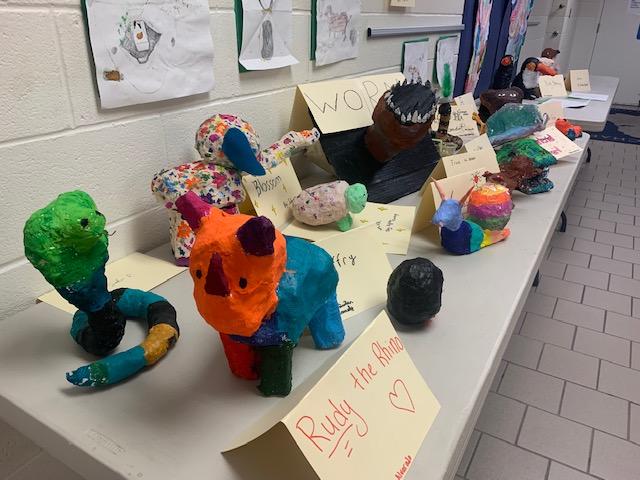
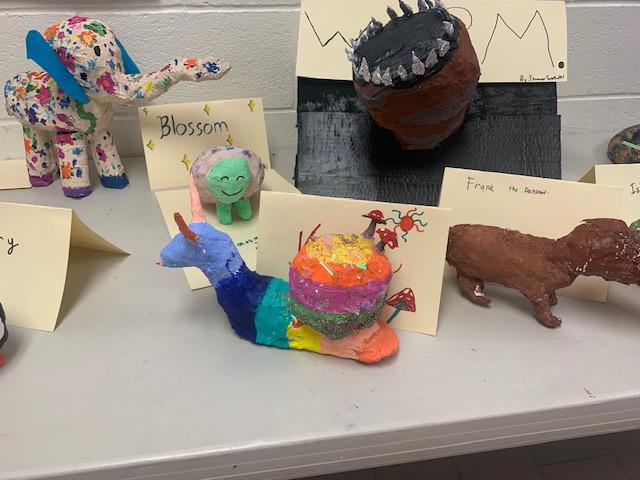
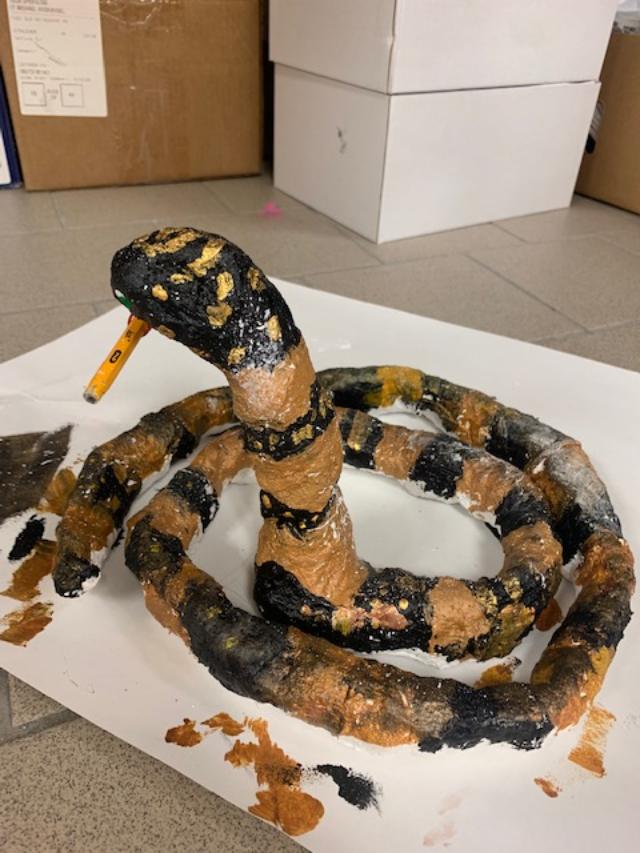
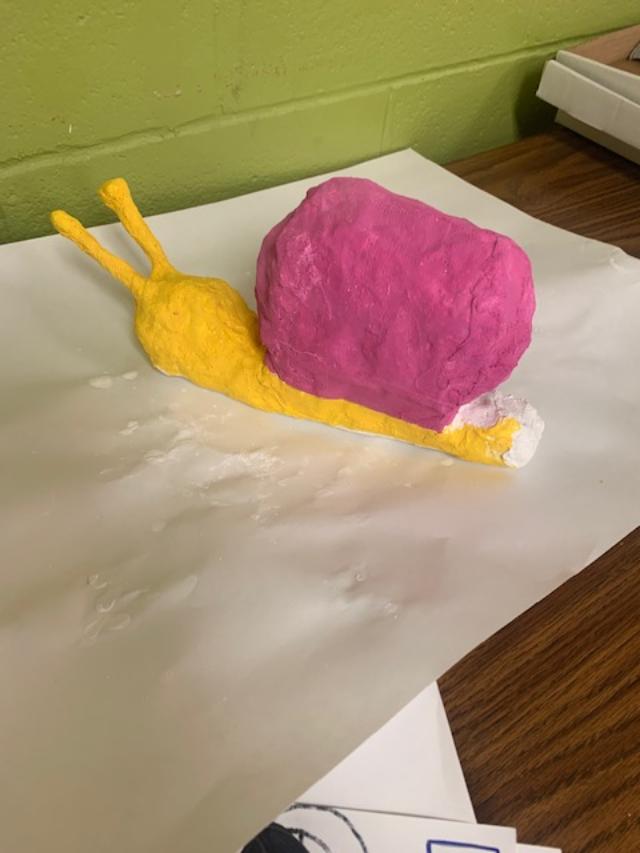
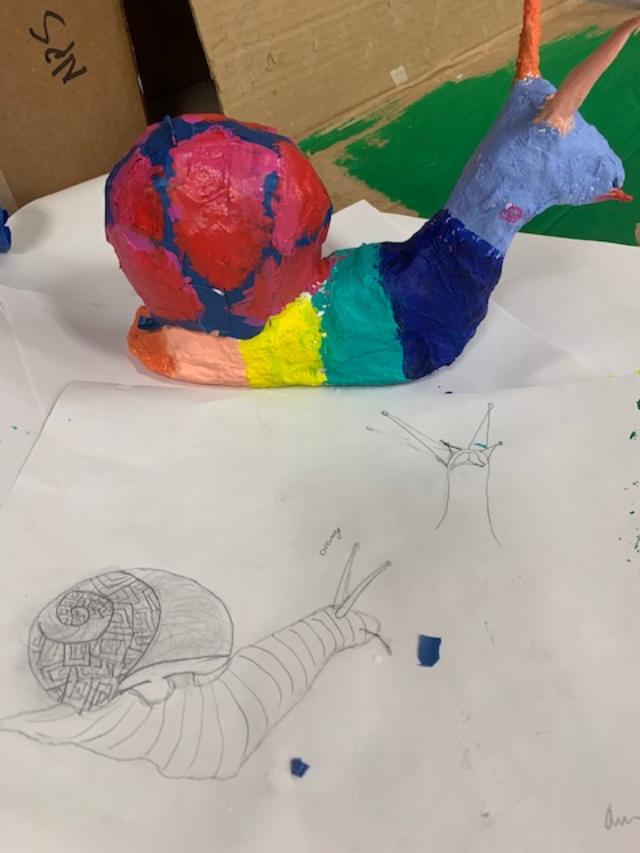
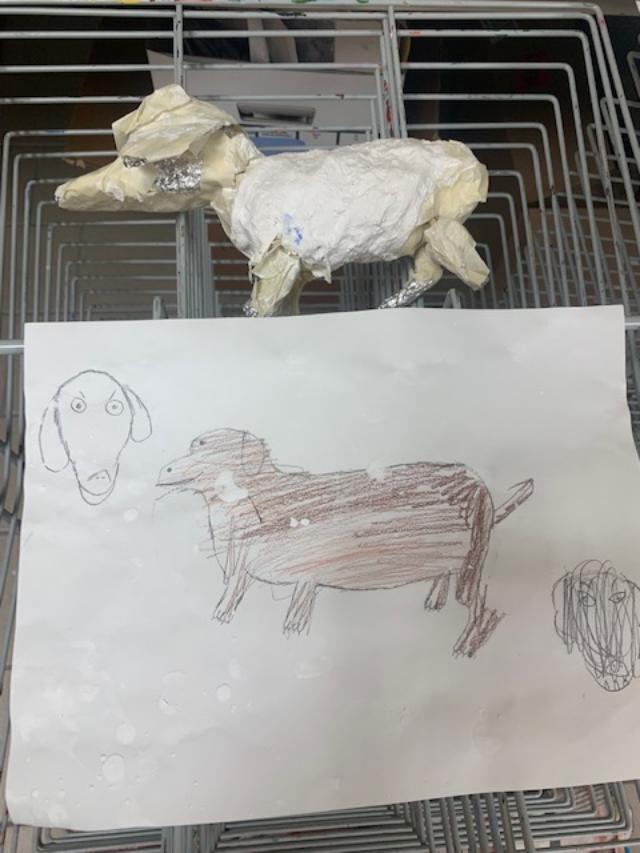
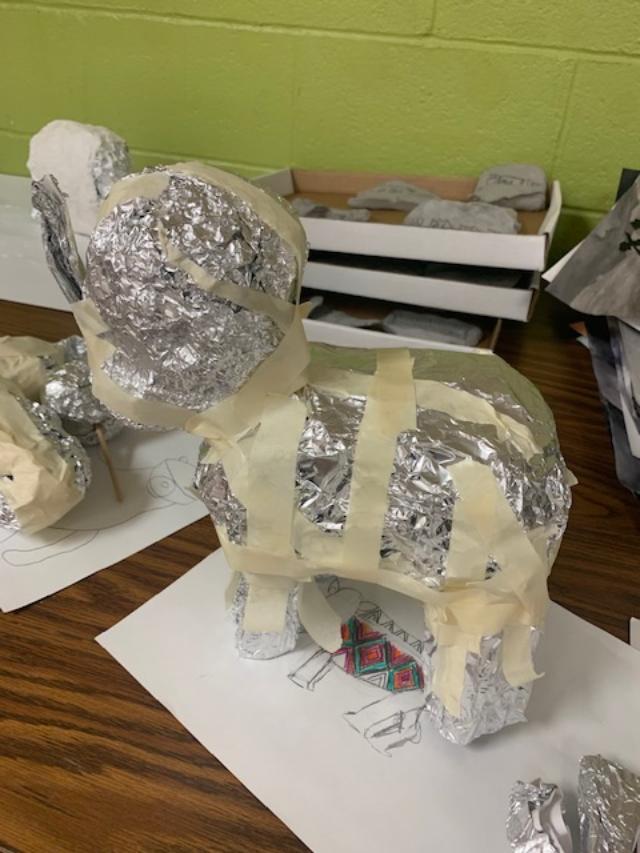
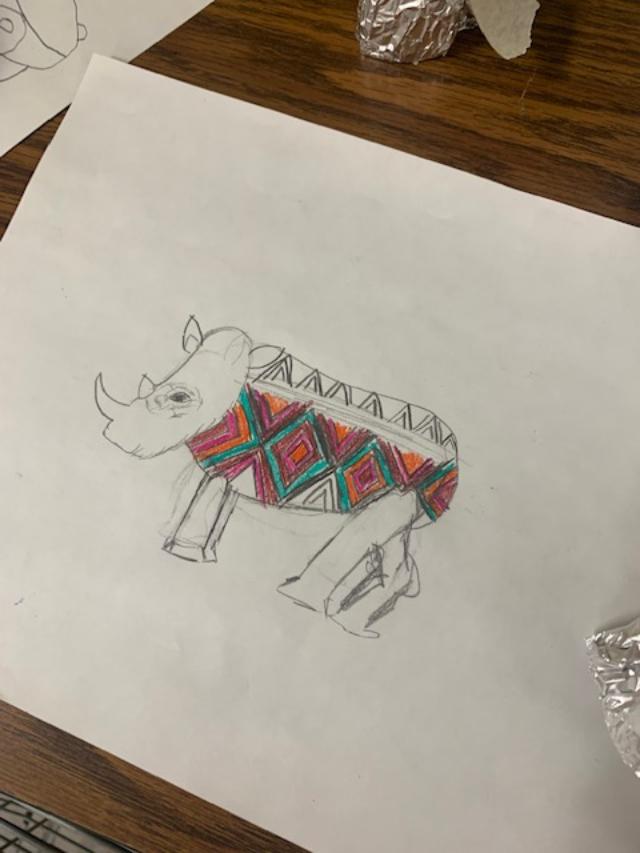
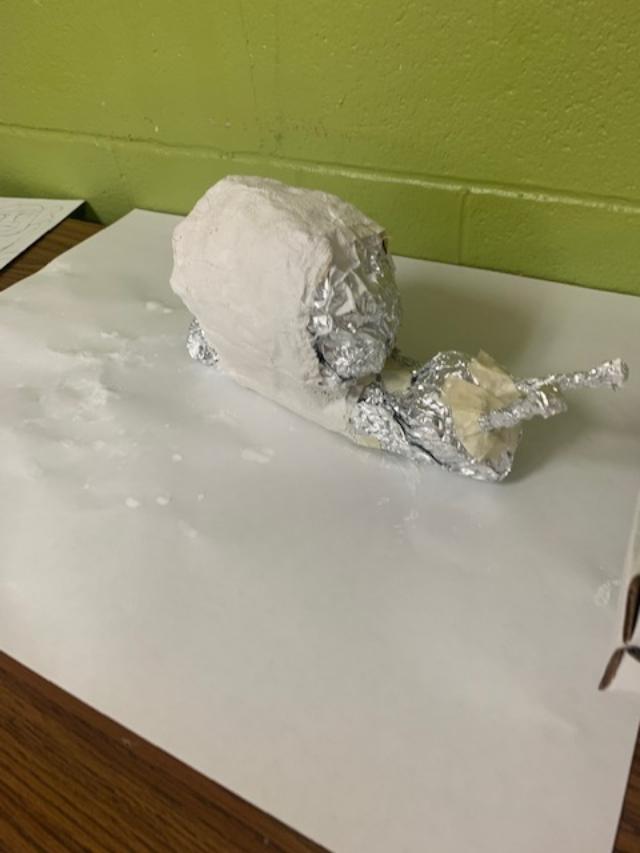
This was all about the process and it was amazing. The students chose any animal they liked. They then sketched the animal out from two different views. Side full view and front view. From their sketch they made a 3D animal out of paper and tubes. They then used tinfoil to wrap the paper and tubing in place and many used tape to secure or hot glue. It was fascinating to see whose sketch actually resembled their object once constructing began. Many animals changed as the building of the animal transpired and it was incredible to watch them think like artists. Not one student got frustrated when their design didn't resemble their sketch. They just reevaluated and kept creating. They, then wrapped their 3D animals in paper mache strips. This took about 2 classes for them to mold. After the drying stage, they painted their animals in whatever colors they wanted and added embellishments, like feathers or google eyes, if they wanted. The final step was to name their animal and display proudly in the hall. What a fantastic project that the entire class had a fun time doing!
0 Comments
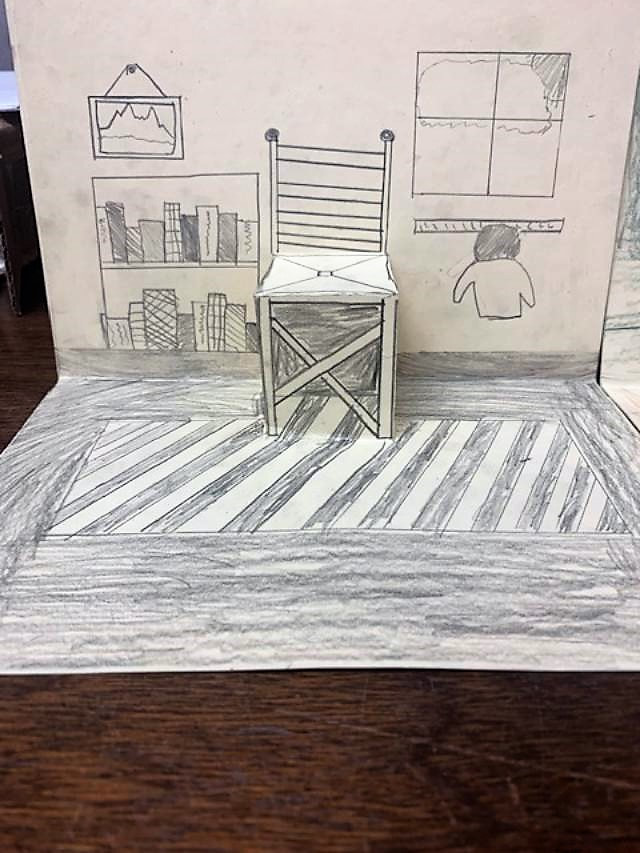
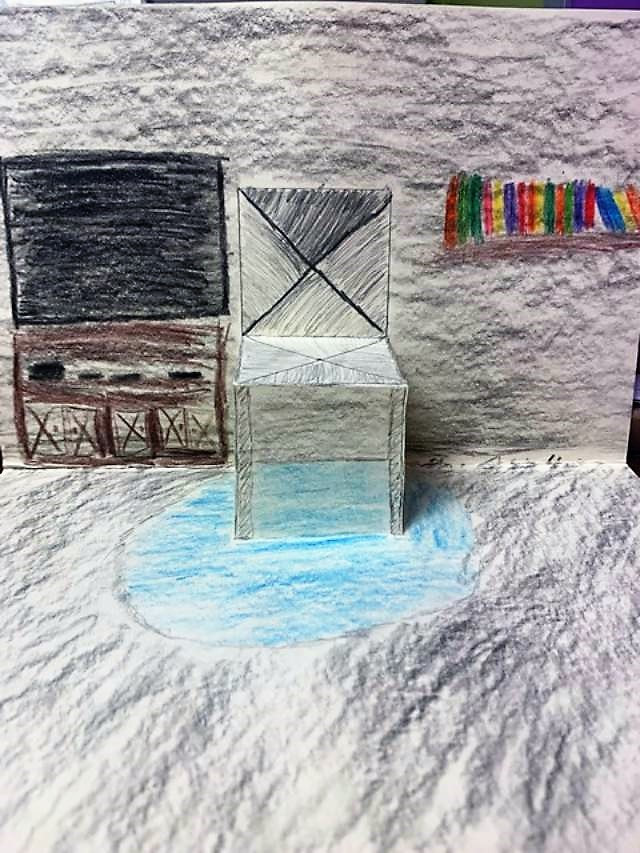
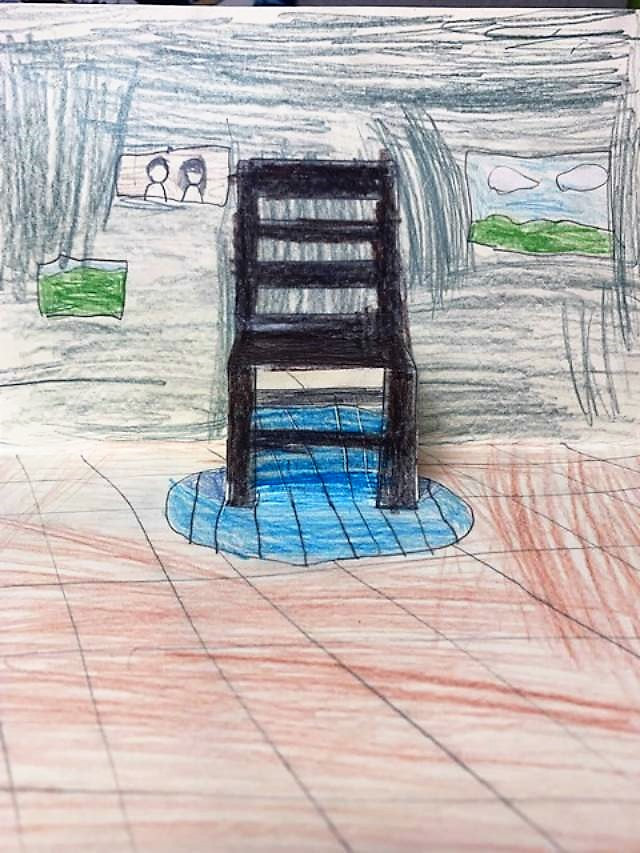
This was a 2 week project. It was easier to show the students the steps with a YouTube video. Google Van Gogh DIY on YouTube: Vincent Van Gogh Art Project for Kids | Pop up Chair | Art lesson for Kids - YouTube They could see the basics of the project on the screen better with this. After watching the first few minutes, I then instructed them to design a chair like Van Gogh and to decorate the room as they wanted. They only had to add one thing of Van Gogh's in the rooms. They were really creative: a Starry Night rug, a vase of sunflowers, a window with Starry Night. They turned out amazing. More photos to follow. These are the beginnings.
|
AuthorRoey Ebert |
