|
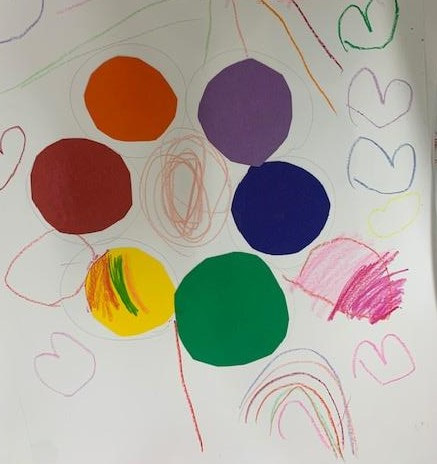
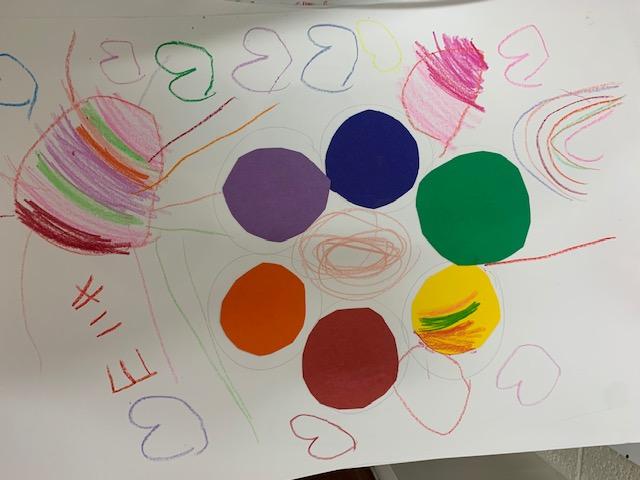
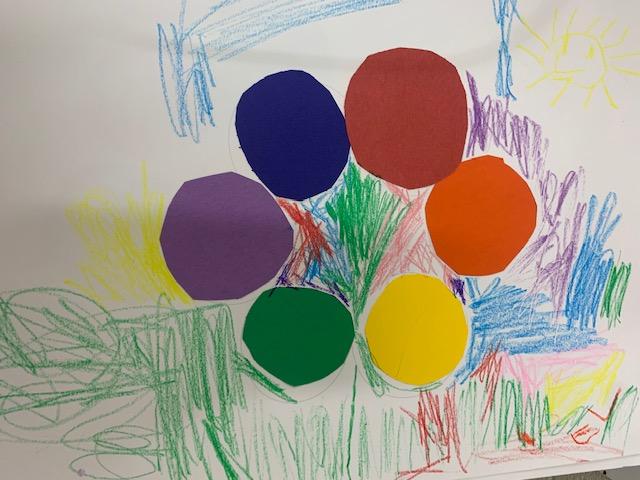
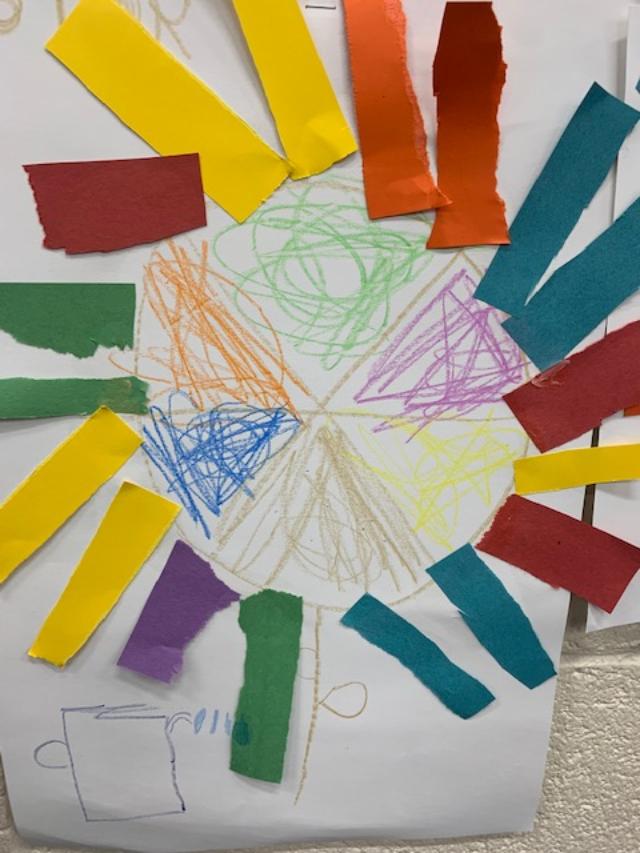
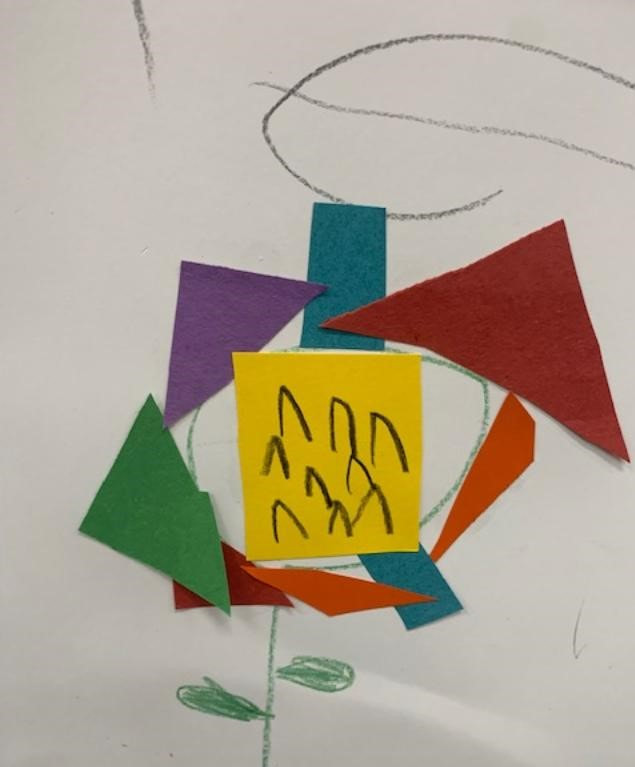
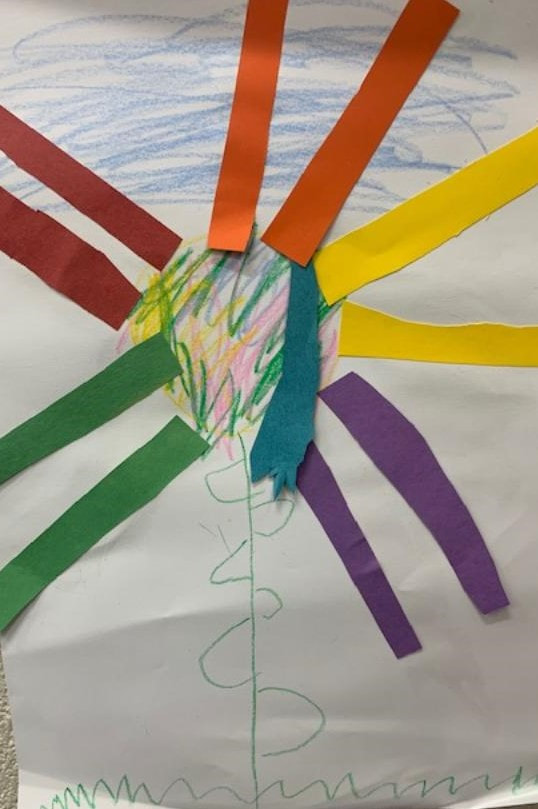
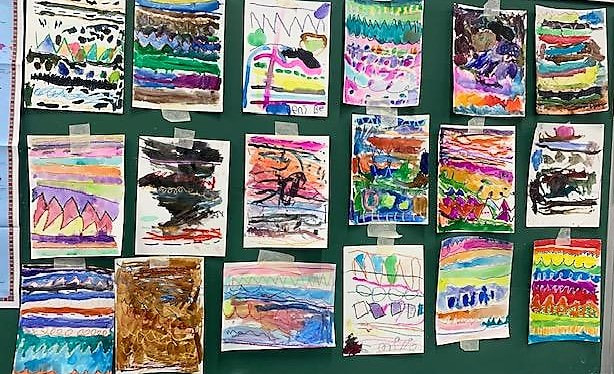
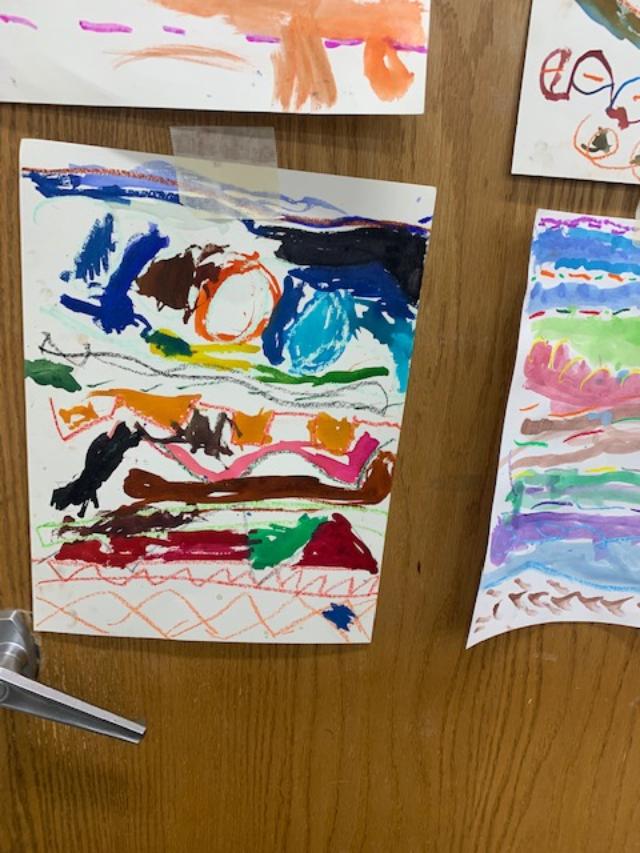
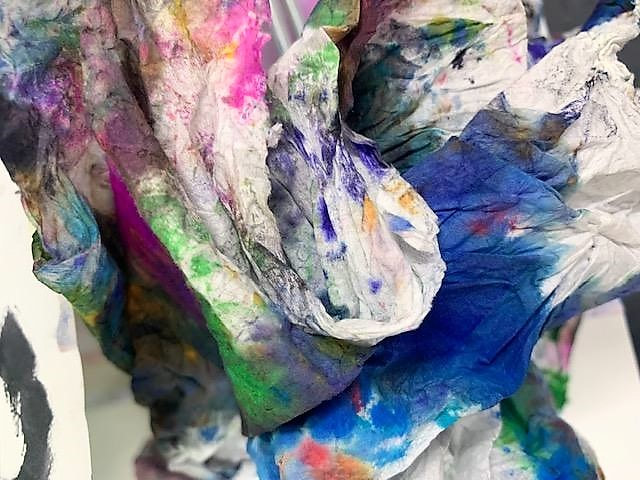
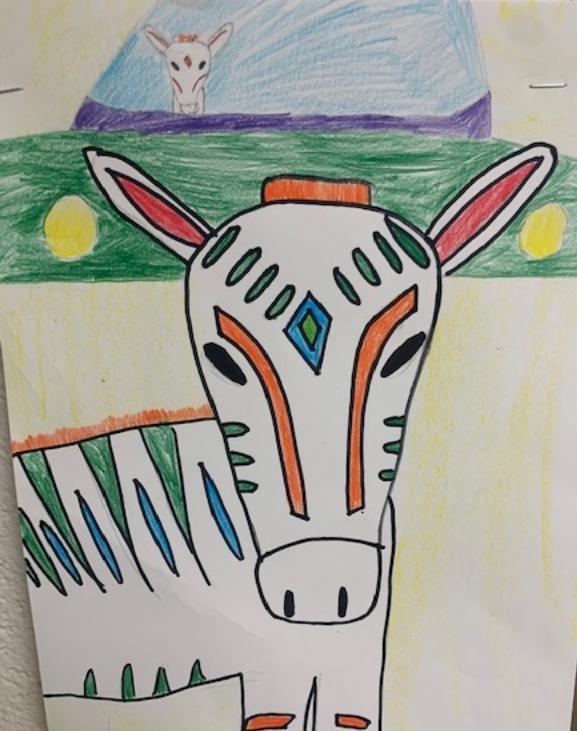
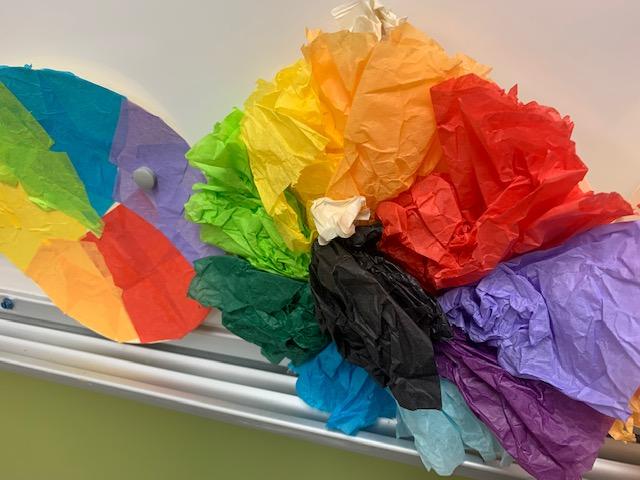
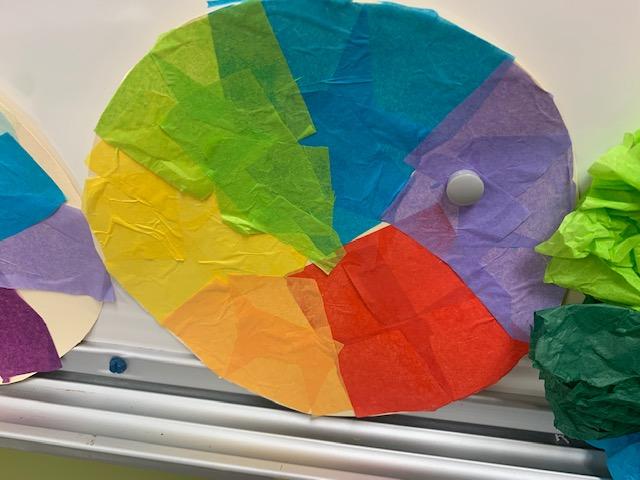
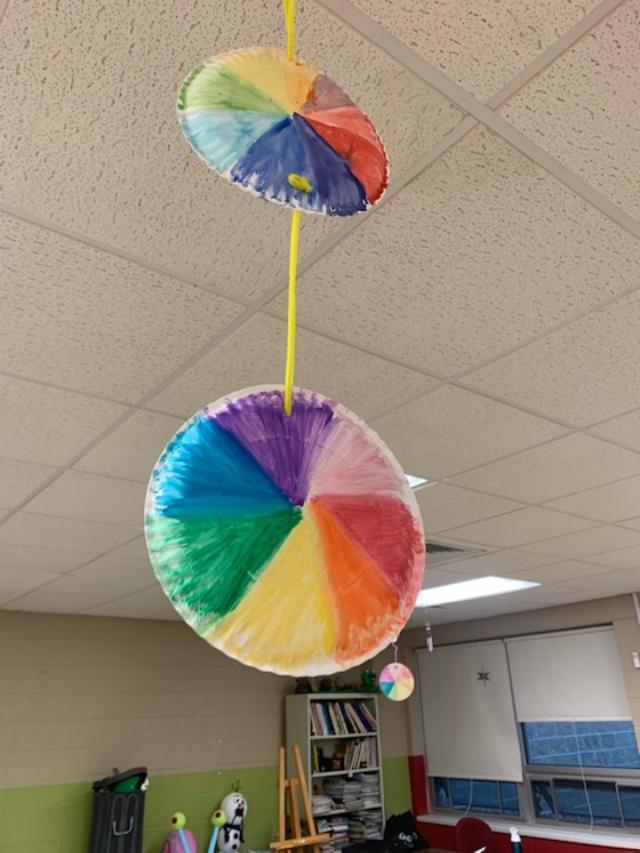
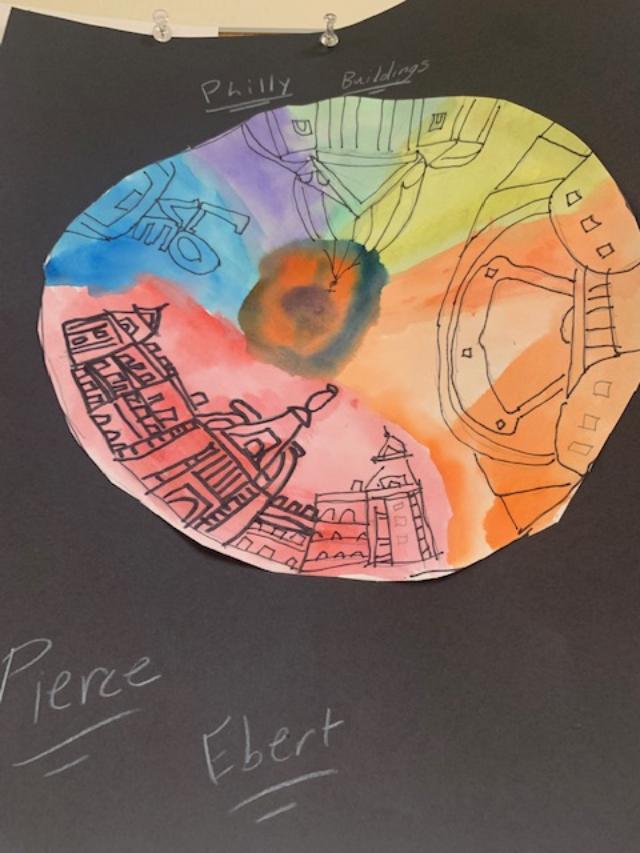
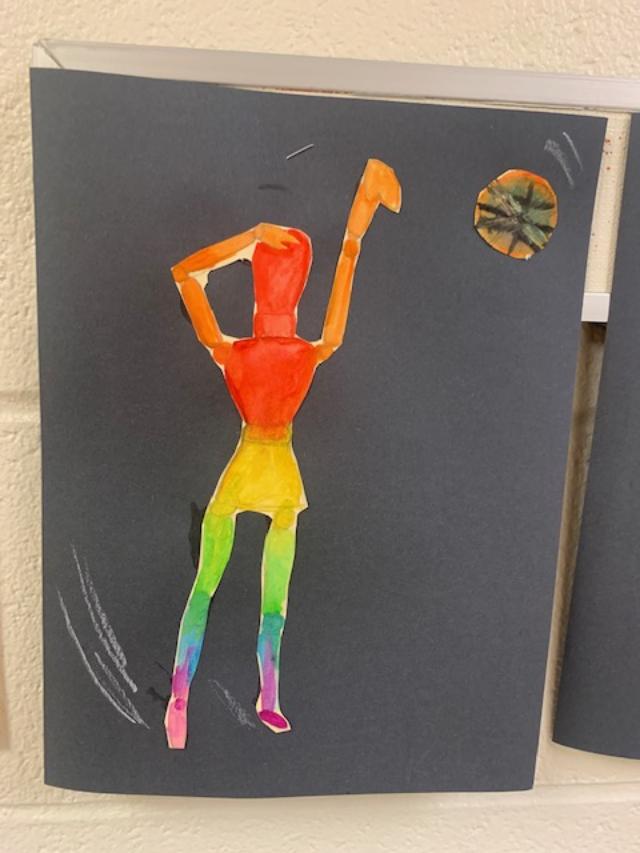
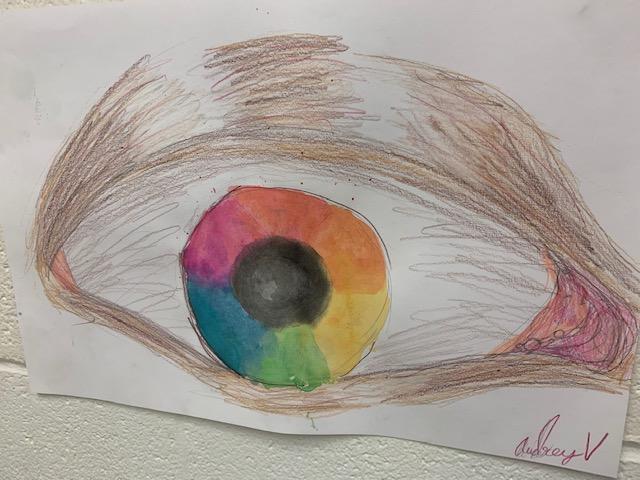
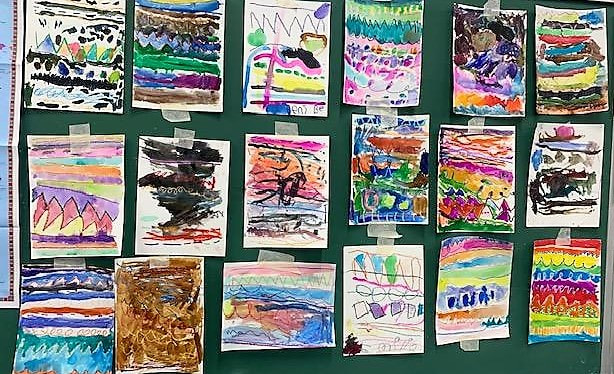
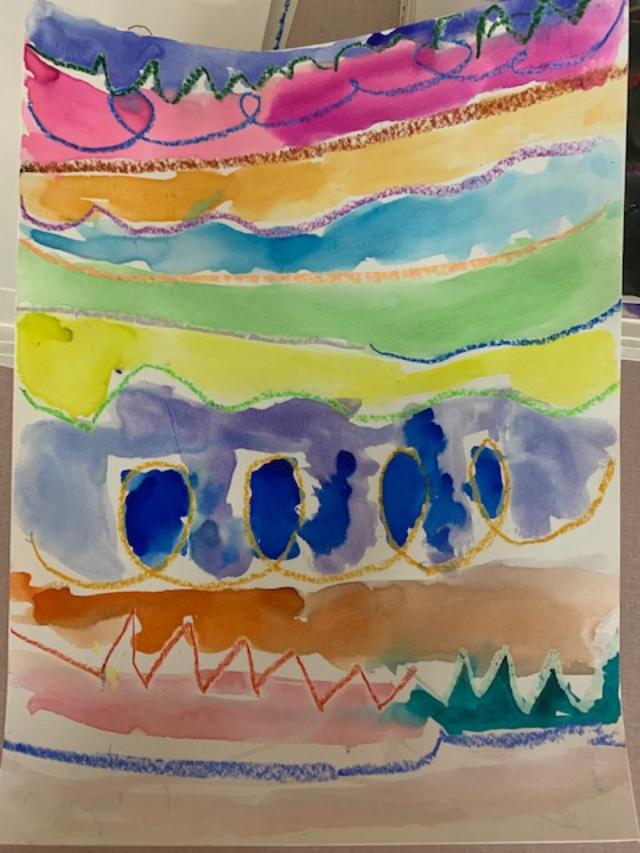
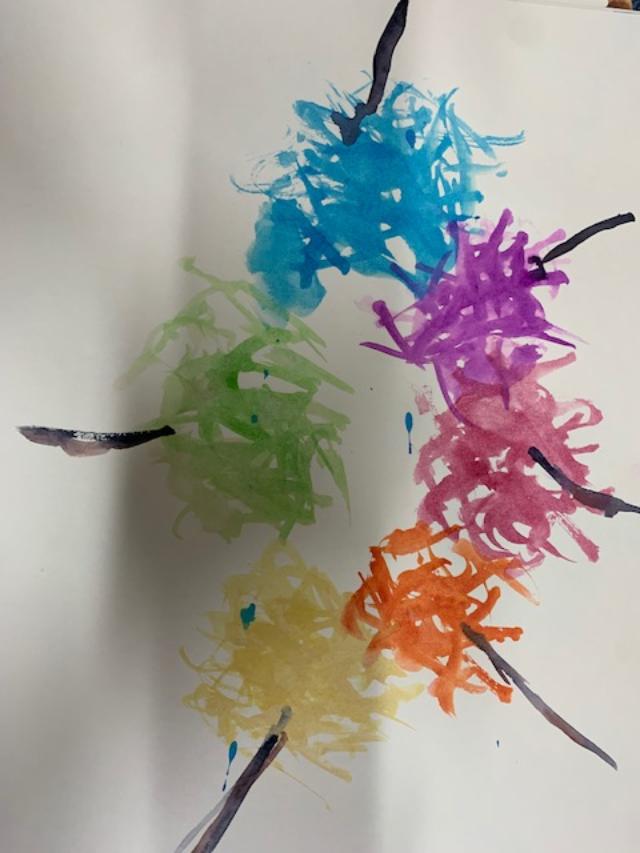
PRE K COLOR WHEELS We talked about colors and used crayons to mix colors on paper. With premade circle cut outs the students placed the colors on the wheel after mixing the combos together. They then turned their cutouts into flowers. Glue sticks were a hit with this group. KINDERGARTEN COLOR WHEEL FLOWERS The kindergarten classes talked about colors and mixed colors on their papers using crayons. We then cut out two pieces of each color for the flower petals and glued around a flower center that they designed themselves. First Grade Color and Line Exploration This project was a continuation of the first week where we explored different types of lines. This week they used water colors to add color between their oil pastel lines. They loved seeing how the colors blended together with the water colors and had a terrific time exploring color combinations. 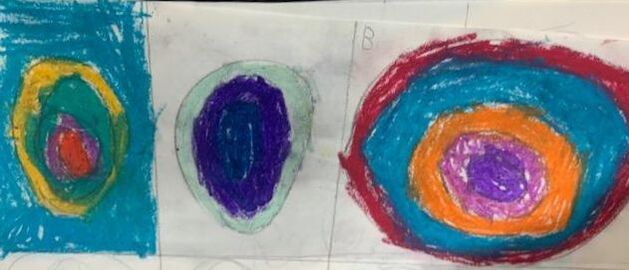 Grade 3 explored warm and cool colors by learning about Kandinsky. This project is still in progress but they are using warm and cool colors to create concentric circles. Crumpled Paper Activity I talked about this in the first week but the students loved this and it was amazing for color exploration. They crumpled up a piece of paper after reading Peter Reynold's "Ish" and used water colors to add the primary colors and then watched as they blended to make the secondary colors. We saved all of the papers and will use them for a future project. GRADE 5 ZEBRAS FOR COLOR WHEEL DISCUSSION 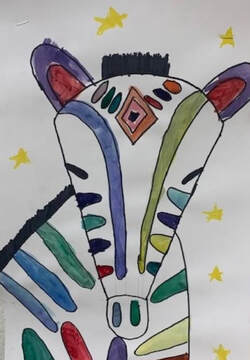 I took the students through the drawing of a zebra step by step on a piece of scrap paper. After discussing and learning about the colors in the color wheel, I told them to make the zebra stripes the colors found in the wheel. We used watercolors and sharpies. COLOR WHEELS FOR ALL I find having color wheels done on the first days of school is terrific for exploring color and teaching them about contrasting colors and complementary colors, etc. We used all different techniques in the middle school to create these and they will hang around the art studio for the rest of the year as guides for their artwork. ARCHITECTURAL ART WHEELS IN 6TH GRADE The students chose the location of their choice for the theme for their color wheel. I told them to choose a place with interesting architecture and make that the focus of their wheel. After discussing the color wheel, they then created a pen drawing of their city in the round and used the colors of the color wheel to watercolor the background in. Seventh Grade Color Wheel Figures In Motion The 7th grade used posable wooden figures to create the silhouettes for their color wheel figure. On scrap paper, using the models, they worked out the action figure they would like to sketch the most. After sketching, they then cut out their figure and traced it onto good paper. After talking about the color wheel and making color wheel samples on paper plates, they then filled in the figures with the color wheel colors. EIGHTH GRADE EYE COLOR WHEELS
After creating color wheels with tissue paper on tagboard, I demonstrated a drawing of the eye which they sketched on paper. They then redid their sketch on good paper turning the iris of the eye into a color wheel.
0 Comments
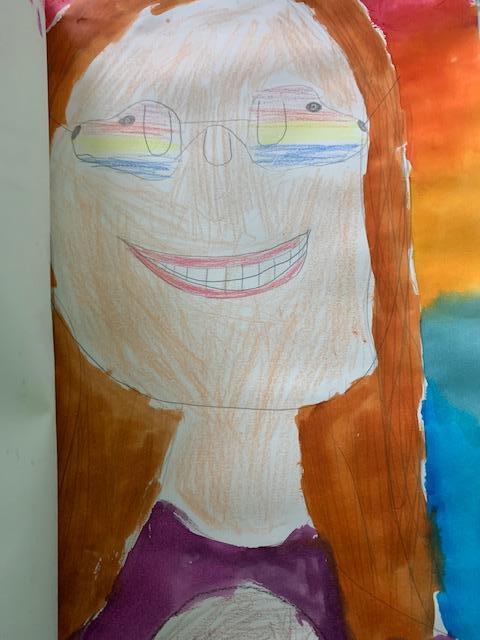
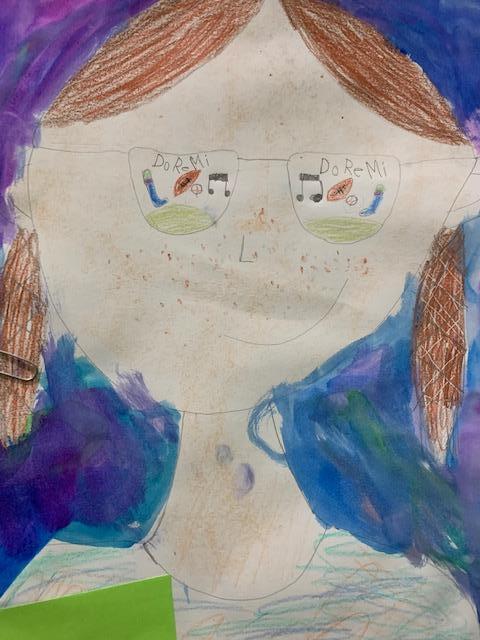
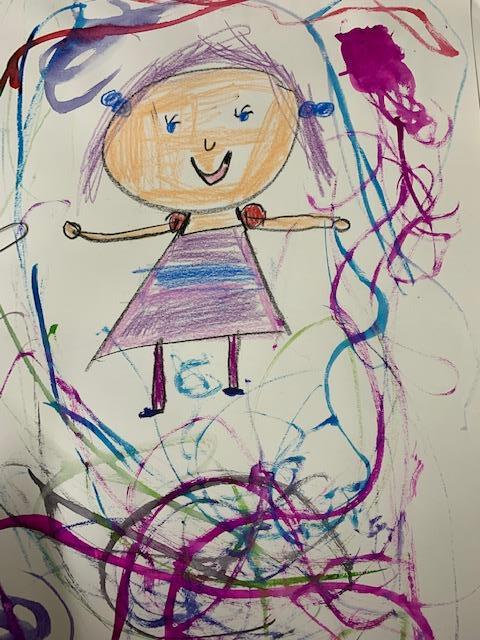
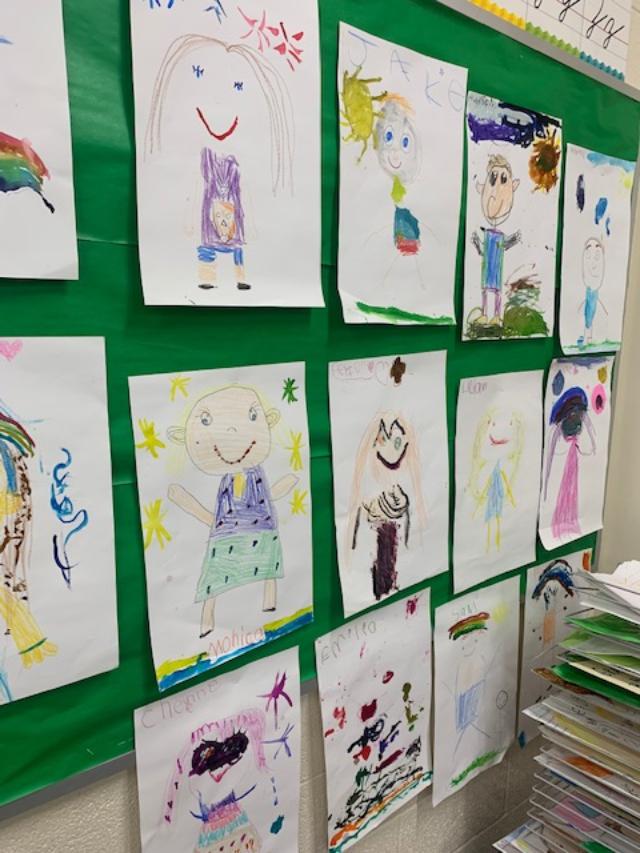
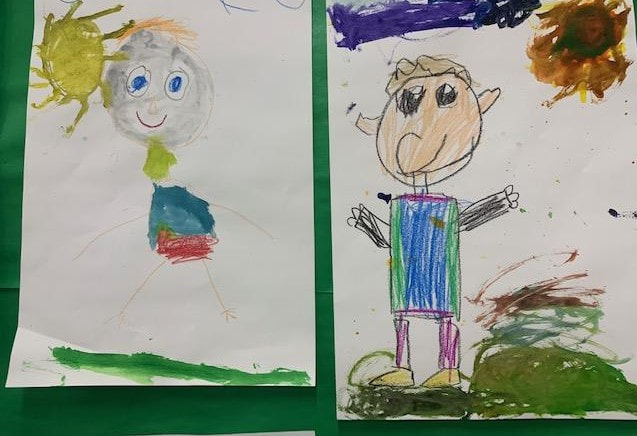
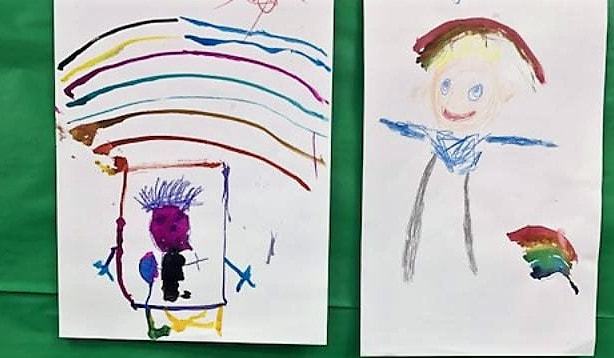
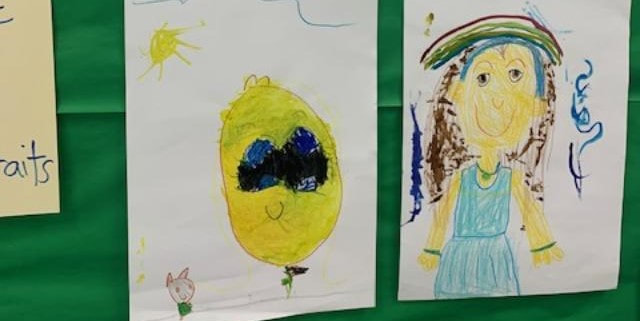
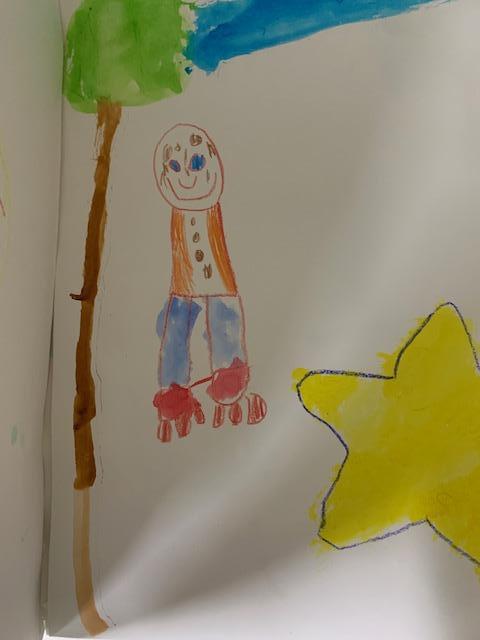
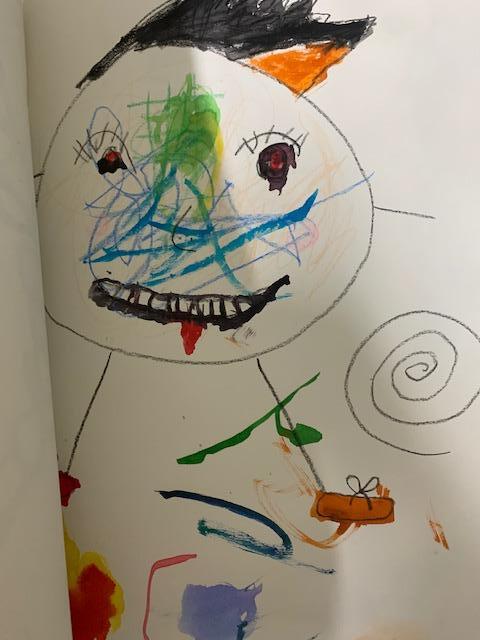
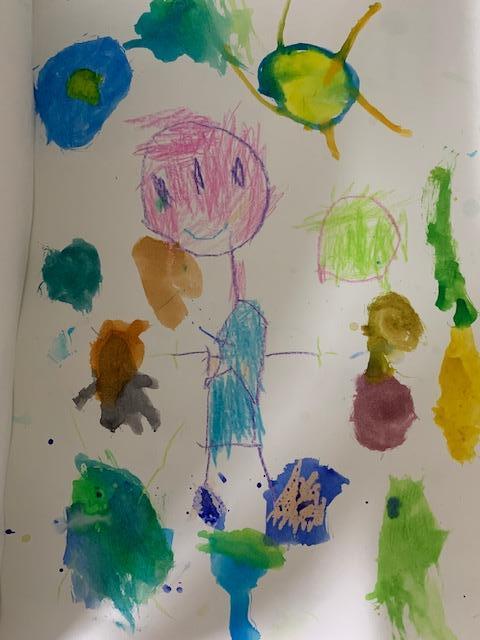
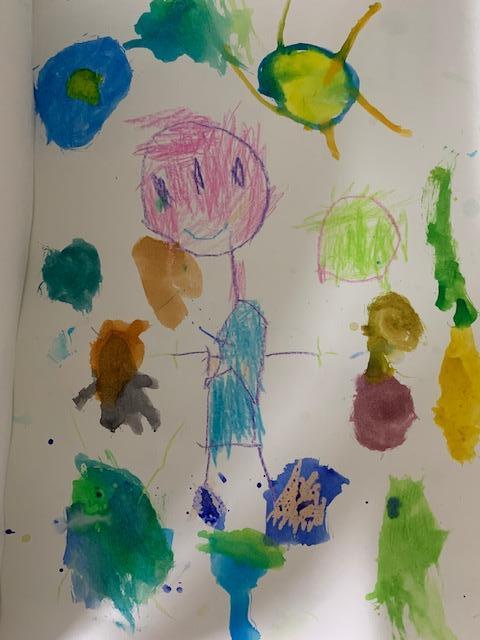
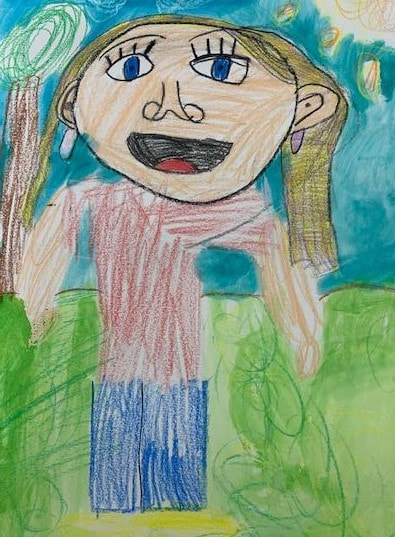
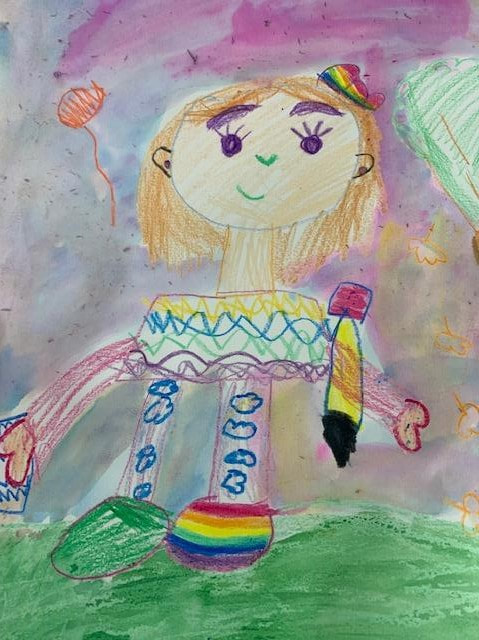
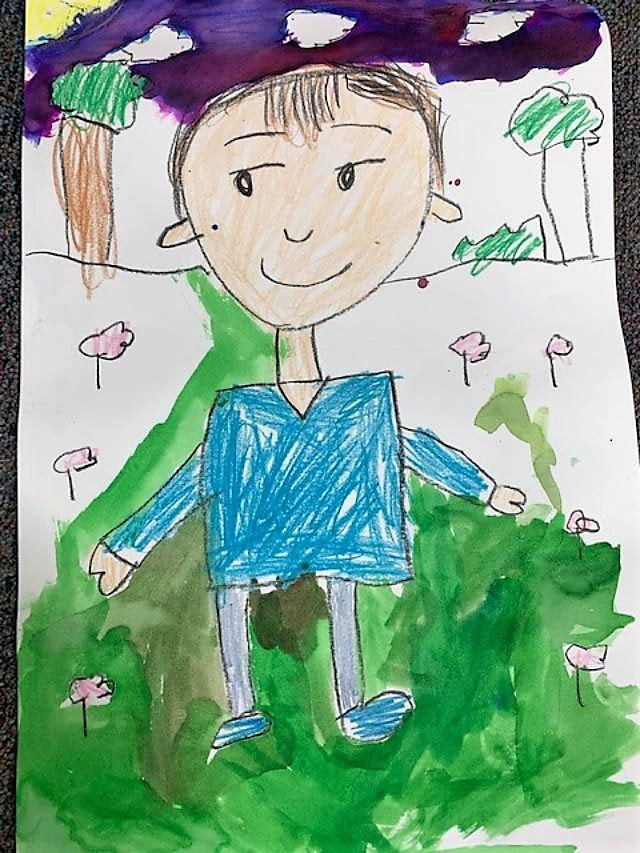
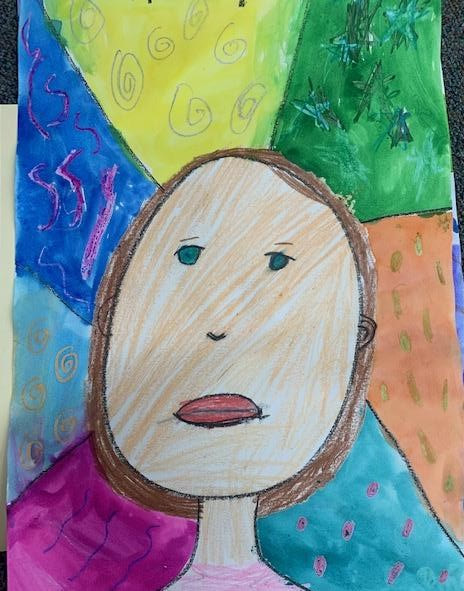
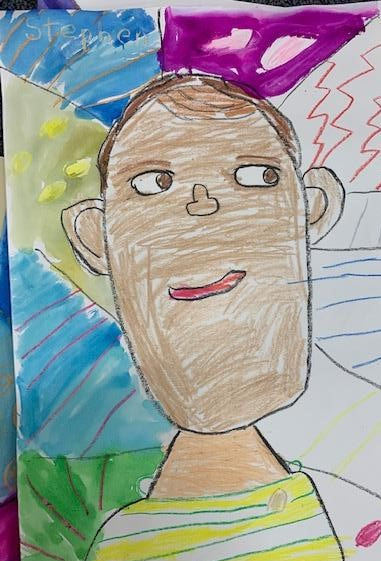
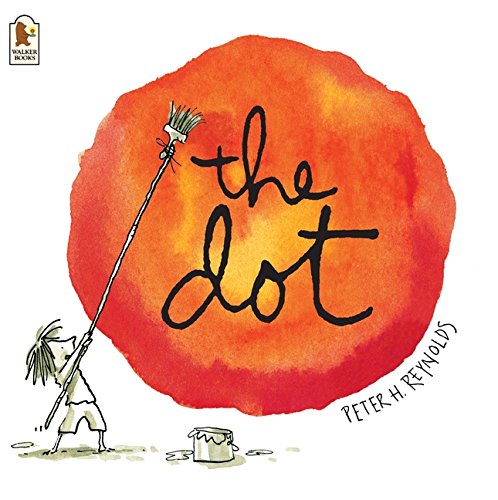
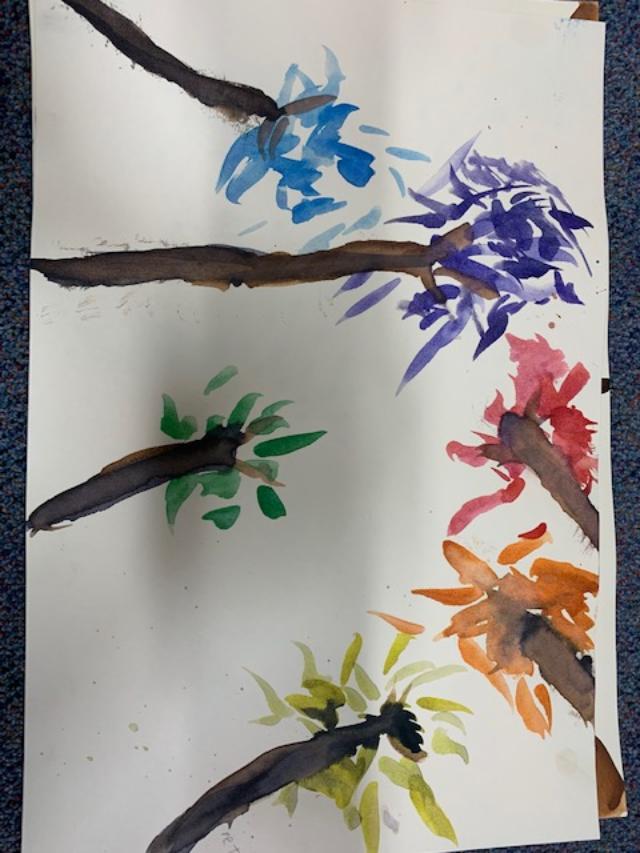
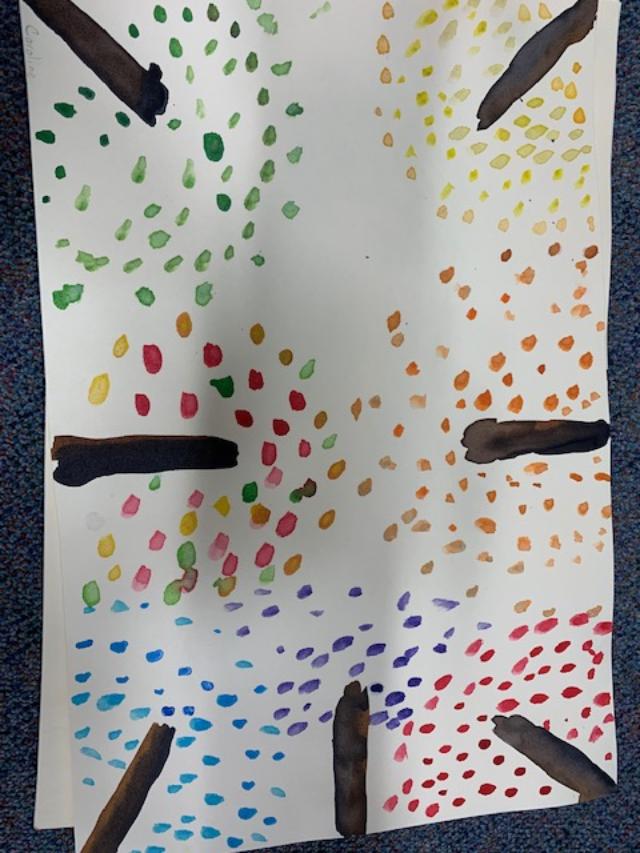
FIRST GRADE SELF PORTRAITS: The 1st grades had a blast creating their own self portraits, using watercolors and crayons. They loved filling the backgrounds with their favorite colors and watching the watercolors blend. KINDERGARTEN SELF PORTRAITS The kindergarteners made self portraits using watercolors and crayons. I loved hearing them ask their friend next to them what eye color they had or what their hair color was. It is a great project for self awareness. Watercolors are always a big hit and they had fun adding colors and details to their pictures with the paints after they had drawn themselves in. SECOND GRADE SELF PORTRAITS The second graders used watercolors and crayons to create a full body self portrait. We talked about the parts of the body and how to draw them using shapes. We then discussed the background and that adding a horizon line behind their figure would help ground them in the picture. They had a blast creating themselves and their backgrounds. 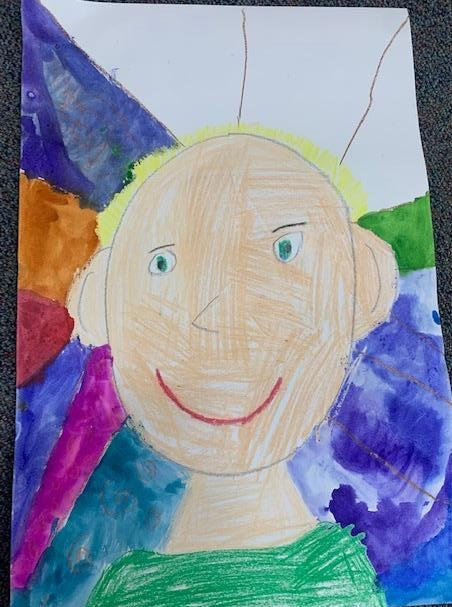 THIRD GRADE ROMERO BRITTO INSPIRED SELF PORTRAITS These are still a work in progress but they are so fun. We looked at Romero Britto's colorful art and discussed ways to use lines and patterns to break off the background. We also talked about facial features and creating their self portraits. The first week of school is always a challenge for many reasons. For me, it was my first time back in the classroom in 23 years! Getting to know all the new students and the dynamics of who should sit with whom is the focus of my first days in the classroom. Once I get a handle on those things, I like to establish routines for my class that the children can easily relate to each week. For the Pre-K through 4th grade, I like to begin my art classes with a breathing exercise using the Hoberman Sphere. The students love the visual and I have them "smell the flowers" as they breathe in and "blow out the candles" as they breathe out for 4, before we start our art. I got a small one on Amazon for my class. I LOVE, LOVE, LOVE a good children's book and, plus, who doesn't like getting read to? I use them often in all of my classes and they are a great way to springboard into your art lesson. The first week I read "Ten Black Dots" (Donald Crew) to the Pre-K and 1st grades. We then used crayons to make a dot on the paper and they had to turn it into something. Some made flowers, some made eyes and some made more dots. The lesson was great to introduce them to some of the art supplies in the class, like the crayon buckets and also to get them used to tapping into that imagination. I wrote what they made on the back of each paper (because some of the drawings needed a guide, lol.) I had planned to give them a paper with just a black dot on it and have them turn it into something but this worked out just as well. 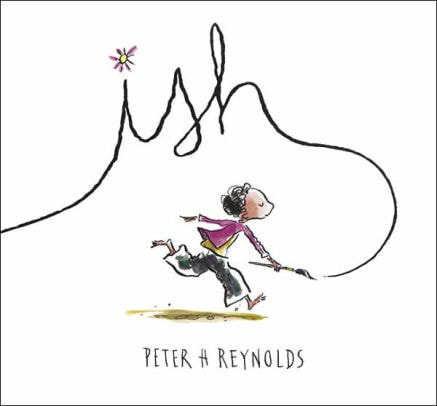 Grade 4 was introduced the story "Ish" by Peter Reynolds. Love this book because perfection is not the name of the game....delight in the process of making art is! I gave each student a piece of white paper and watercolors. I instructed them to crumple the paper up in a ball. They found that hilarious. I then called out the primary colors as they painted the crumpled paper in sections. They then refolded the crumbled paper and added the secondary colors at my instruction. They loved the blending that took place as the wrinkles melded into each other. They absolutely loved their finished crumbled papers and we dried them on the art racks. I told them we would use them for a future project but this was a good way to get the lesson started. The art lesson was a tree painting using the color wheel as a guide. They were given 11 x14 papers and instructed to start with the dots of the primary colors and then in between add the secondary colors. We added tree trunks to the dots. The second week we will add a sky around the trees and finish by mixing white and black to the colors to add depth to the artwork and investigate making different color tones this way.
AuthorRoey Ebert teaches Pre-K through Grade 8 art at St. Michael the Archangel School, Pennsylvania. Staying colorful with lessons to nurture the imaginations and creativity of all her students. |
AuthorRoey Ebert |
